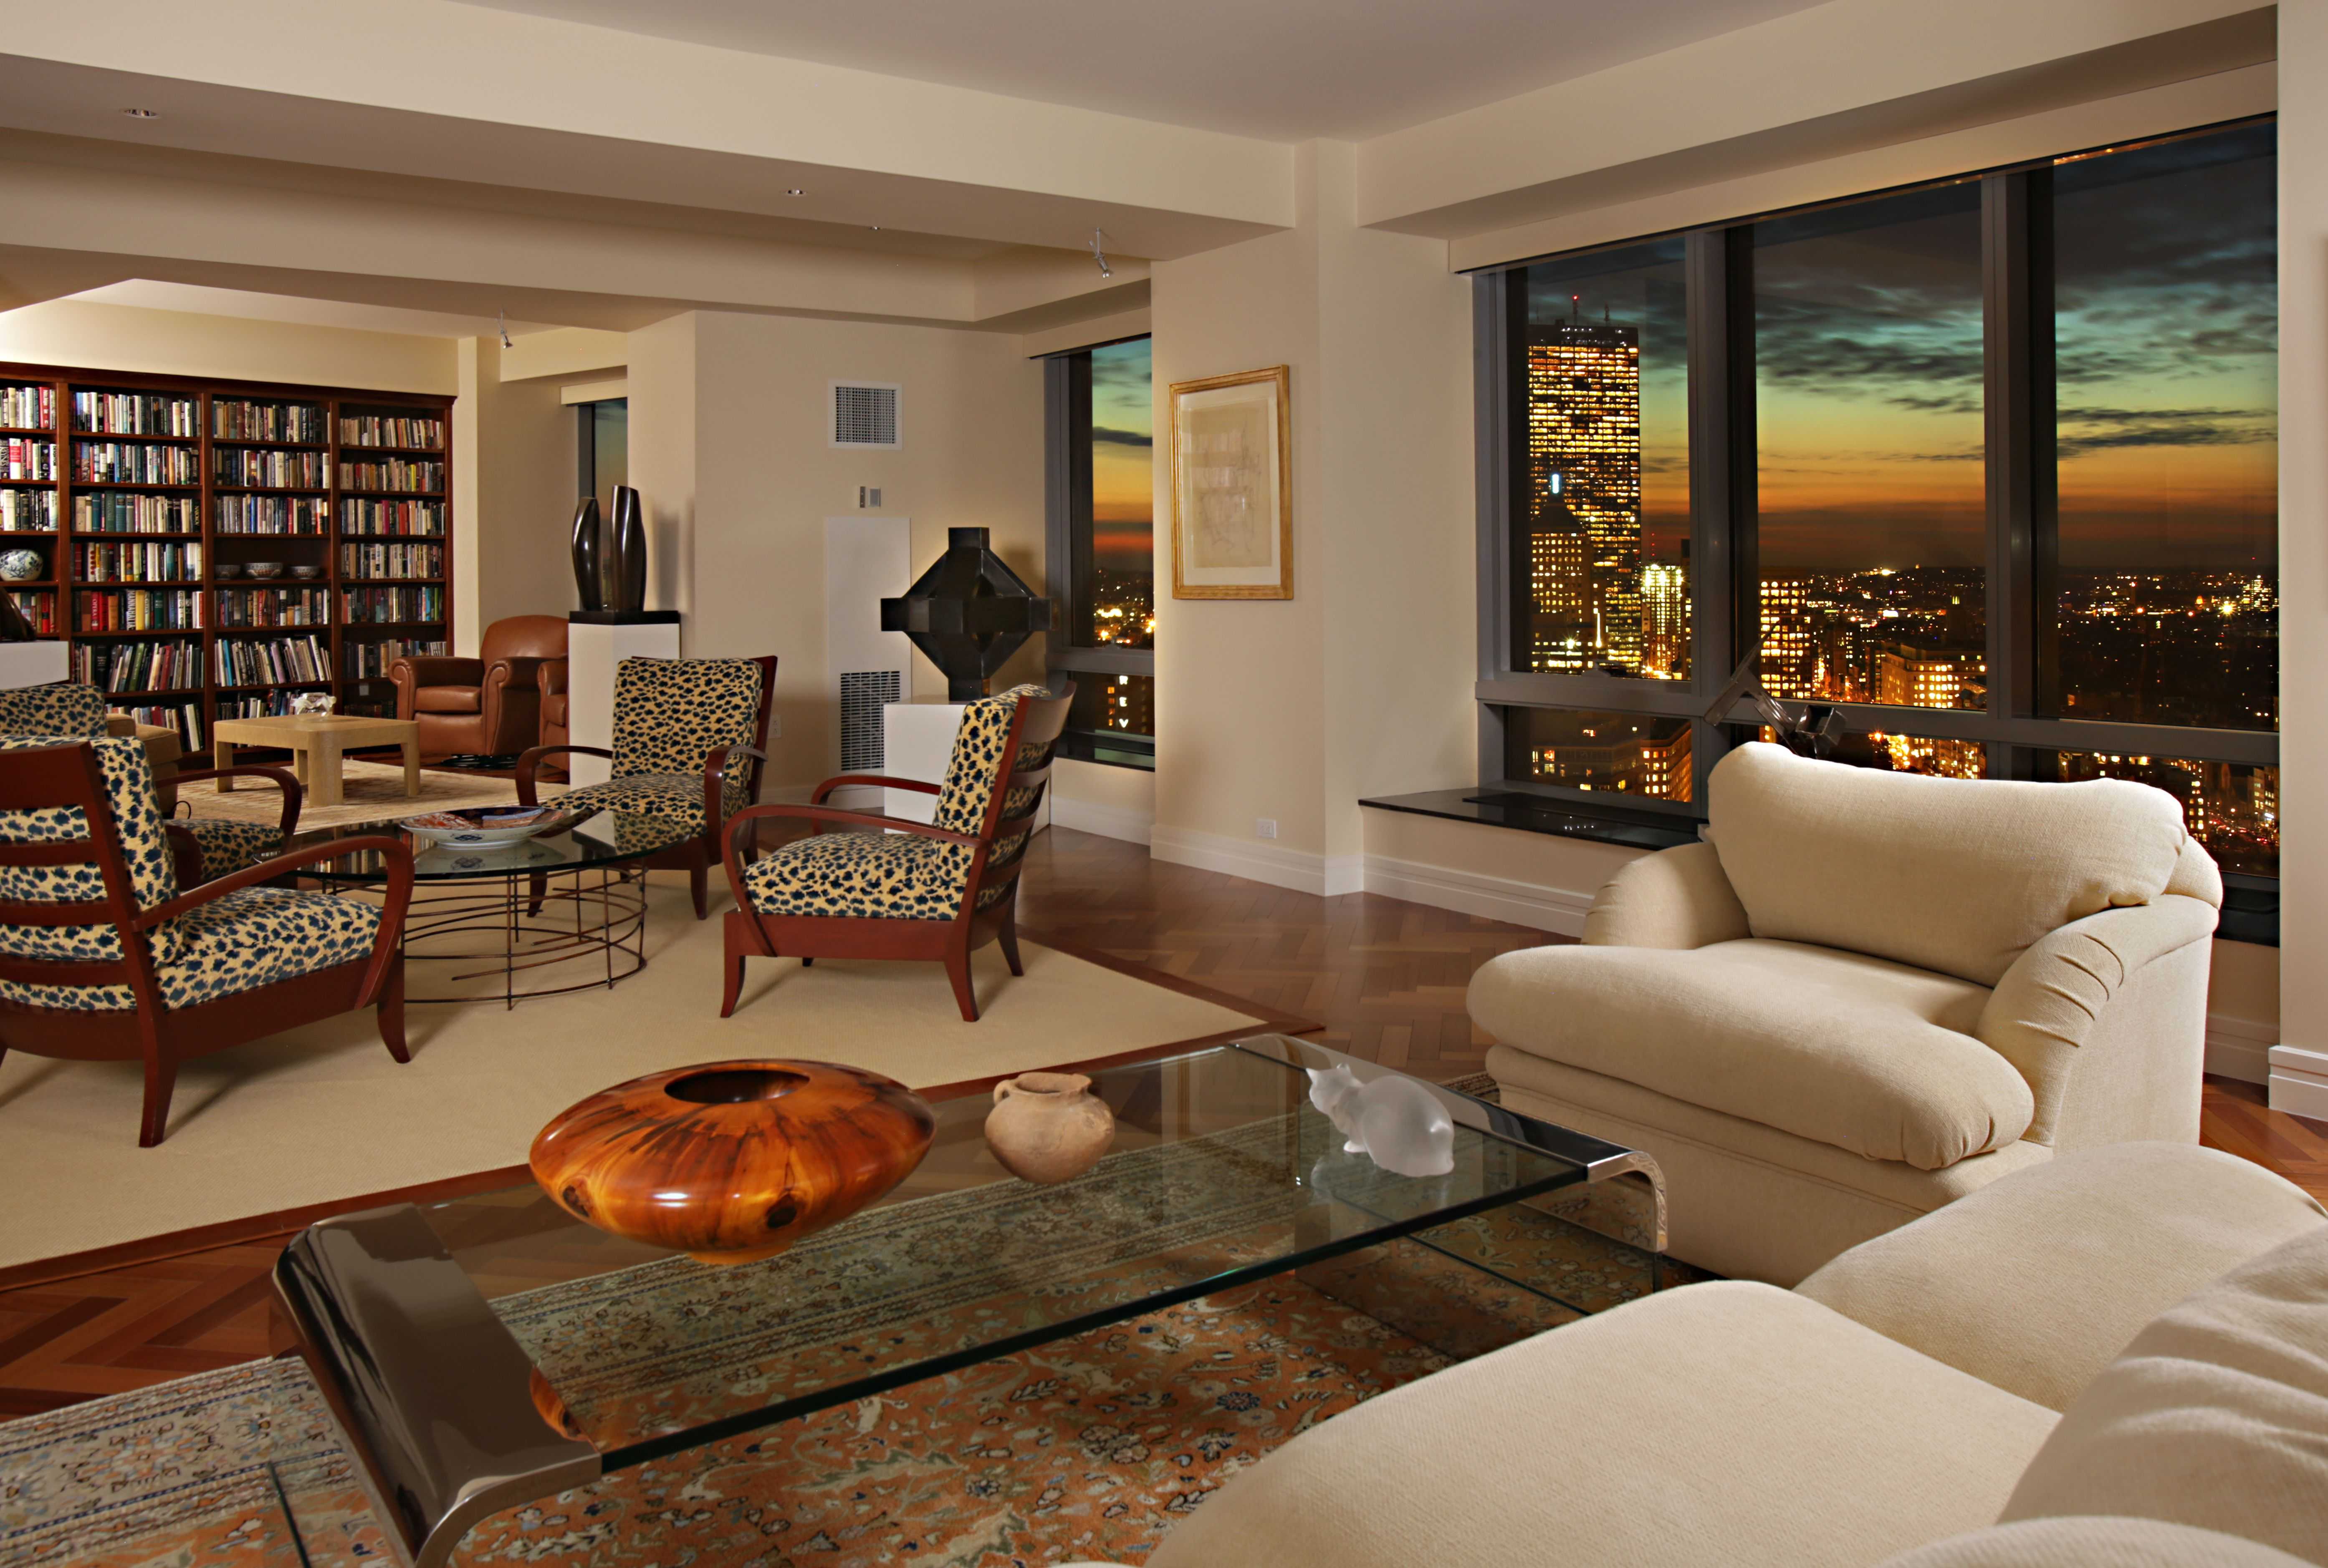
Living Room Design Ideas & Inspiration
Kumpulan Informasi, Tips dan Trik Terlengkap dan Terpercaya — explore curated ideas for sofas, storage, decor, and every style in between.
Explore Ideas →Get Design Inspiration
Tell us what you're looking for and we'll point you to the best articles.
Crown Molding on a Budget for Australian Living Rooms
The best ways to add crown molding to a living room without breaking the bank begin with proportion, not ornament. A narrow, consistent profile can make the ceiling feel taller and disguise minor unevenness where walls meet ceilings, while an ornate cornice can consume both the budget and visual space. In Australia, this detail is also commonly called cornice or crown moulding.
Paint is the biggest design lever because it allows inexpensive timber-look products to blend with the ceiling or become a deliberate border. The aim is a crisp line around the room rather than a feature competing with sofas, artwork and lighting. That restraint also makes compact spaces easier to style.
Budget-conscious homeowners can combine a modest profile with careful mitres, filler, primer and two thin paint coats. Offcuts work for short runs, while a sample board helps confirm the colour under evening light. These choices preserve the detail without turning the project into a full renovation.
Success also depends on the room’s construction, local rules and any preparation hidden by walls and ceilings. Measuring, choosing a suitable material and checking approval requirements first protects the saving that makes the project worthwhile.
| Budget route | Material to look for | Best suited to | Cost-saving move |
|---|---|---|---|
| Paintable MDF | Smooth plain or timber-look profile | Straight runs and simple designs | Choose a narrow width and finish it in the ceiling colour |
| Timber-look cornice | PVC or polystyrene with convincing grain | Most everyday rooms | Compare the same profile across several retailers |
| Primed timber | Real timber with a flat or small ogee profile | Period homes and warmer interiors | Seal, fill and paint it to match the room |
| Second-hand trim | Reclaimed or surplus lengths | One-off walls and matching rooms | Check for decay, old nails and consistent sizing |
Measure the room before choosing a profile
Draw a simple plan and mark doors, fireplaces, bulkheads, ceiling fans and built-in joinery. Measure each wall at floor level and again near the ceiling, since older Australian homes may not be square. Add about 10 per cent for mitre waste, offcuts and future repairs.
Choose the profile according to ceiling height and room character. A slim bead suits a compact apartment or low ceiling; a modest ogee can complement a traditional terrace without becoming theatrical. Test a cut section against the intended paint colour, as glossy finishes can exaggerate joins and brush marks.
For furniture and layout context, browse Sibabeh design guides before shopping. List the tools you already own, as a tape measure, mitre saw, nail gun, offcut, pencil and caulk gun cover most residential jobs. Borrow or rent the costlier tools instead of buying them for one room.
Compare materials without overspending
Paintable MDF is stable and easy to cut, making it useful for straight runs, while PVC and polystyrene offer lightweight, moisture-friendly options. Small sections of real timber suit period rooms, provided knots and resin are properly sealed. Second-hand trim can be economical, but inspect every length for decay, distortion and old fasteners.
Australian hardware retailers such as Bunnings and Mitre 10 commonly stock narrow cornices by the linear metre. Basic options often fall around $10–$30 per linear metre, depending on the profile and finish. Compare identical products across stores and online suppliers, check for discounted offcuts and include primer, filler and paint in the total. Buy one matching profile rather than mixing several bargain designs.
Make cuts and joints disappear
Mark each run, cut the square ends first, then cut mitres with the blade held firmly against the moulding’s top edge. A fine-tooth blade and a sharp blade reduce chipping in MDF. Practise on two offcuts, label every piece and assemble one wall before repeating the process around the room.
Fix the moulding to the wall or ceiling rather than only to fragile plasterboard. A pneumatic nail gun or suitable brad gun provides consistent fixing, while construction adhesive can support awkward joins. Where walls are uneven, flexible painter’s caulk along the top edge can bridge small gaps without creating a visible wave.
Sand filled joints, remove all dust and prime bare MDF, timber and cut ends. Use the same colour on the ceiling and moulding for a seamless effect, or choose a soft tonal contrast when the profile deserves emphasis. Two light coats generally look cleaner than one heavy coat, particularly over porous products and filled mitres.
Style the ceiling line with restraint
Keep furniture visually light so the new ceiling line remains crisp. A low-backed sofa, restrained artwork and an uncluttered console give the trim room to register. For complementary décor ideas, browse Creation Is Love and choose accessories that support the palette rather than compete with the joinery.
Lighting reveals the quality of the finish. A warm LED uplight grazing the ceiling can soften the painted surface, while a central pendant may cast pronounced shadows across uneven mitres. Check the profile in daylight and at night before deciding on the gloss level, then repeat the ceiling colour on the moulding to maintain a calm effect.
Match the detail to Australian homes
Sydney terraces often have lofty ceilings, original plaster and narrow rooms, making a delicate profile especially effective. Melbourne weatherboard cottages can reward a crisp painted line that echoes the home’s simple exterior. Brisbane Queenslander houses often sit high and open to verandas, where humidity and strong sunlight call for stable, well-sealed products.
Choose moisture-resistant MDF, PVC or properly sealed timber in humid coastal and tropical regions, and allow finishes to cure fully before normal use resumes. Direct afternoon sun can fade pale cornice, so rotate seating and check colour samples in different parts of the room. These material choices help prevent an inexpensive finish from bubbling or peeling later.
Many Australian households use the living room for homework, casual television and family gatherings, often flowing directly into an outdoor entertaining area. A light cornice suits that relaxed, open-plan habit better than heavy ornament. It also creates a tidy visual transition between the indoor room and the deck, patio or back veranda.
Check approvals, safety and hidden costs
Renters should check their state residential tenancy rules and secure written landlord consent before fixing cornice. Painting may also be restricted by the lease or periodic inspection requirements, while a tension-fit option offers a removable alternative. Apartment owners may need body corporate approval for common-property walls, and heritage-listed owners should confirm requirements with the relevant local council.
Electrical work needs particular care. If concealed LED strip lighting is planned, connections and drivers must remain accessible and comply with the National Construction Code and applicable Australian wiring rules. Use a licensed electrician where required. Before drilling an older ceiling, also check for fragile services and have any suspect building products assessed before disturbing them.
Budget for preparation as well as the length of trim. High ceilings need safe access, patched cracks may need sanding and old paint can require primer. Include dust sheets, ladder hire, filler, caulk, brushes and disposal costs. Hiring a decorator for cutting and installation can still be economical when the room has many walls, difficult corners or uneven plaster.
Give your living room a polished finish
Create a shopping list with room measurements, the selected profile, a paint sample, total linear metres and a 10 per cent allowance. Pair the ceiling treatment with the rest of the room by planning a focal wall over the console; the statement mirror guide offers a practical way to balance proportion, light and visual height.
Choose one profile, complete a sample wall and review it in both daylight and evening light before painting the remainder. Then measure carefully, buy once and install with the patience that keeps every corner crisp. Measure first, buy once and create a living room that feels finished from every angle.
What We Cover
Living Room Topics & Ideas
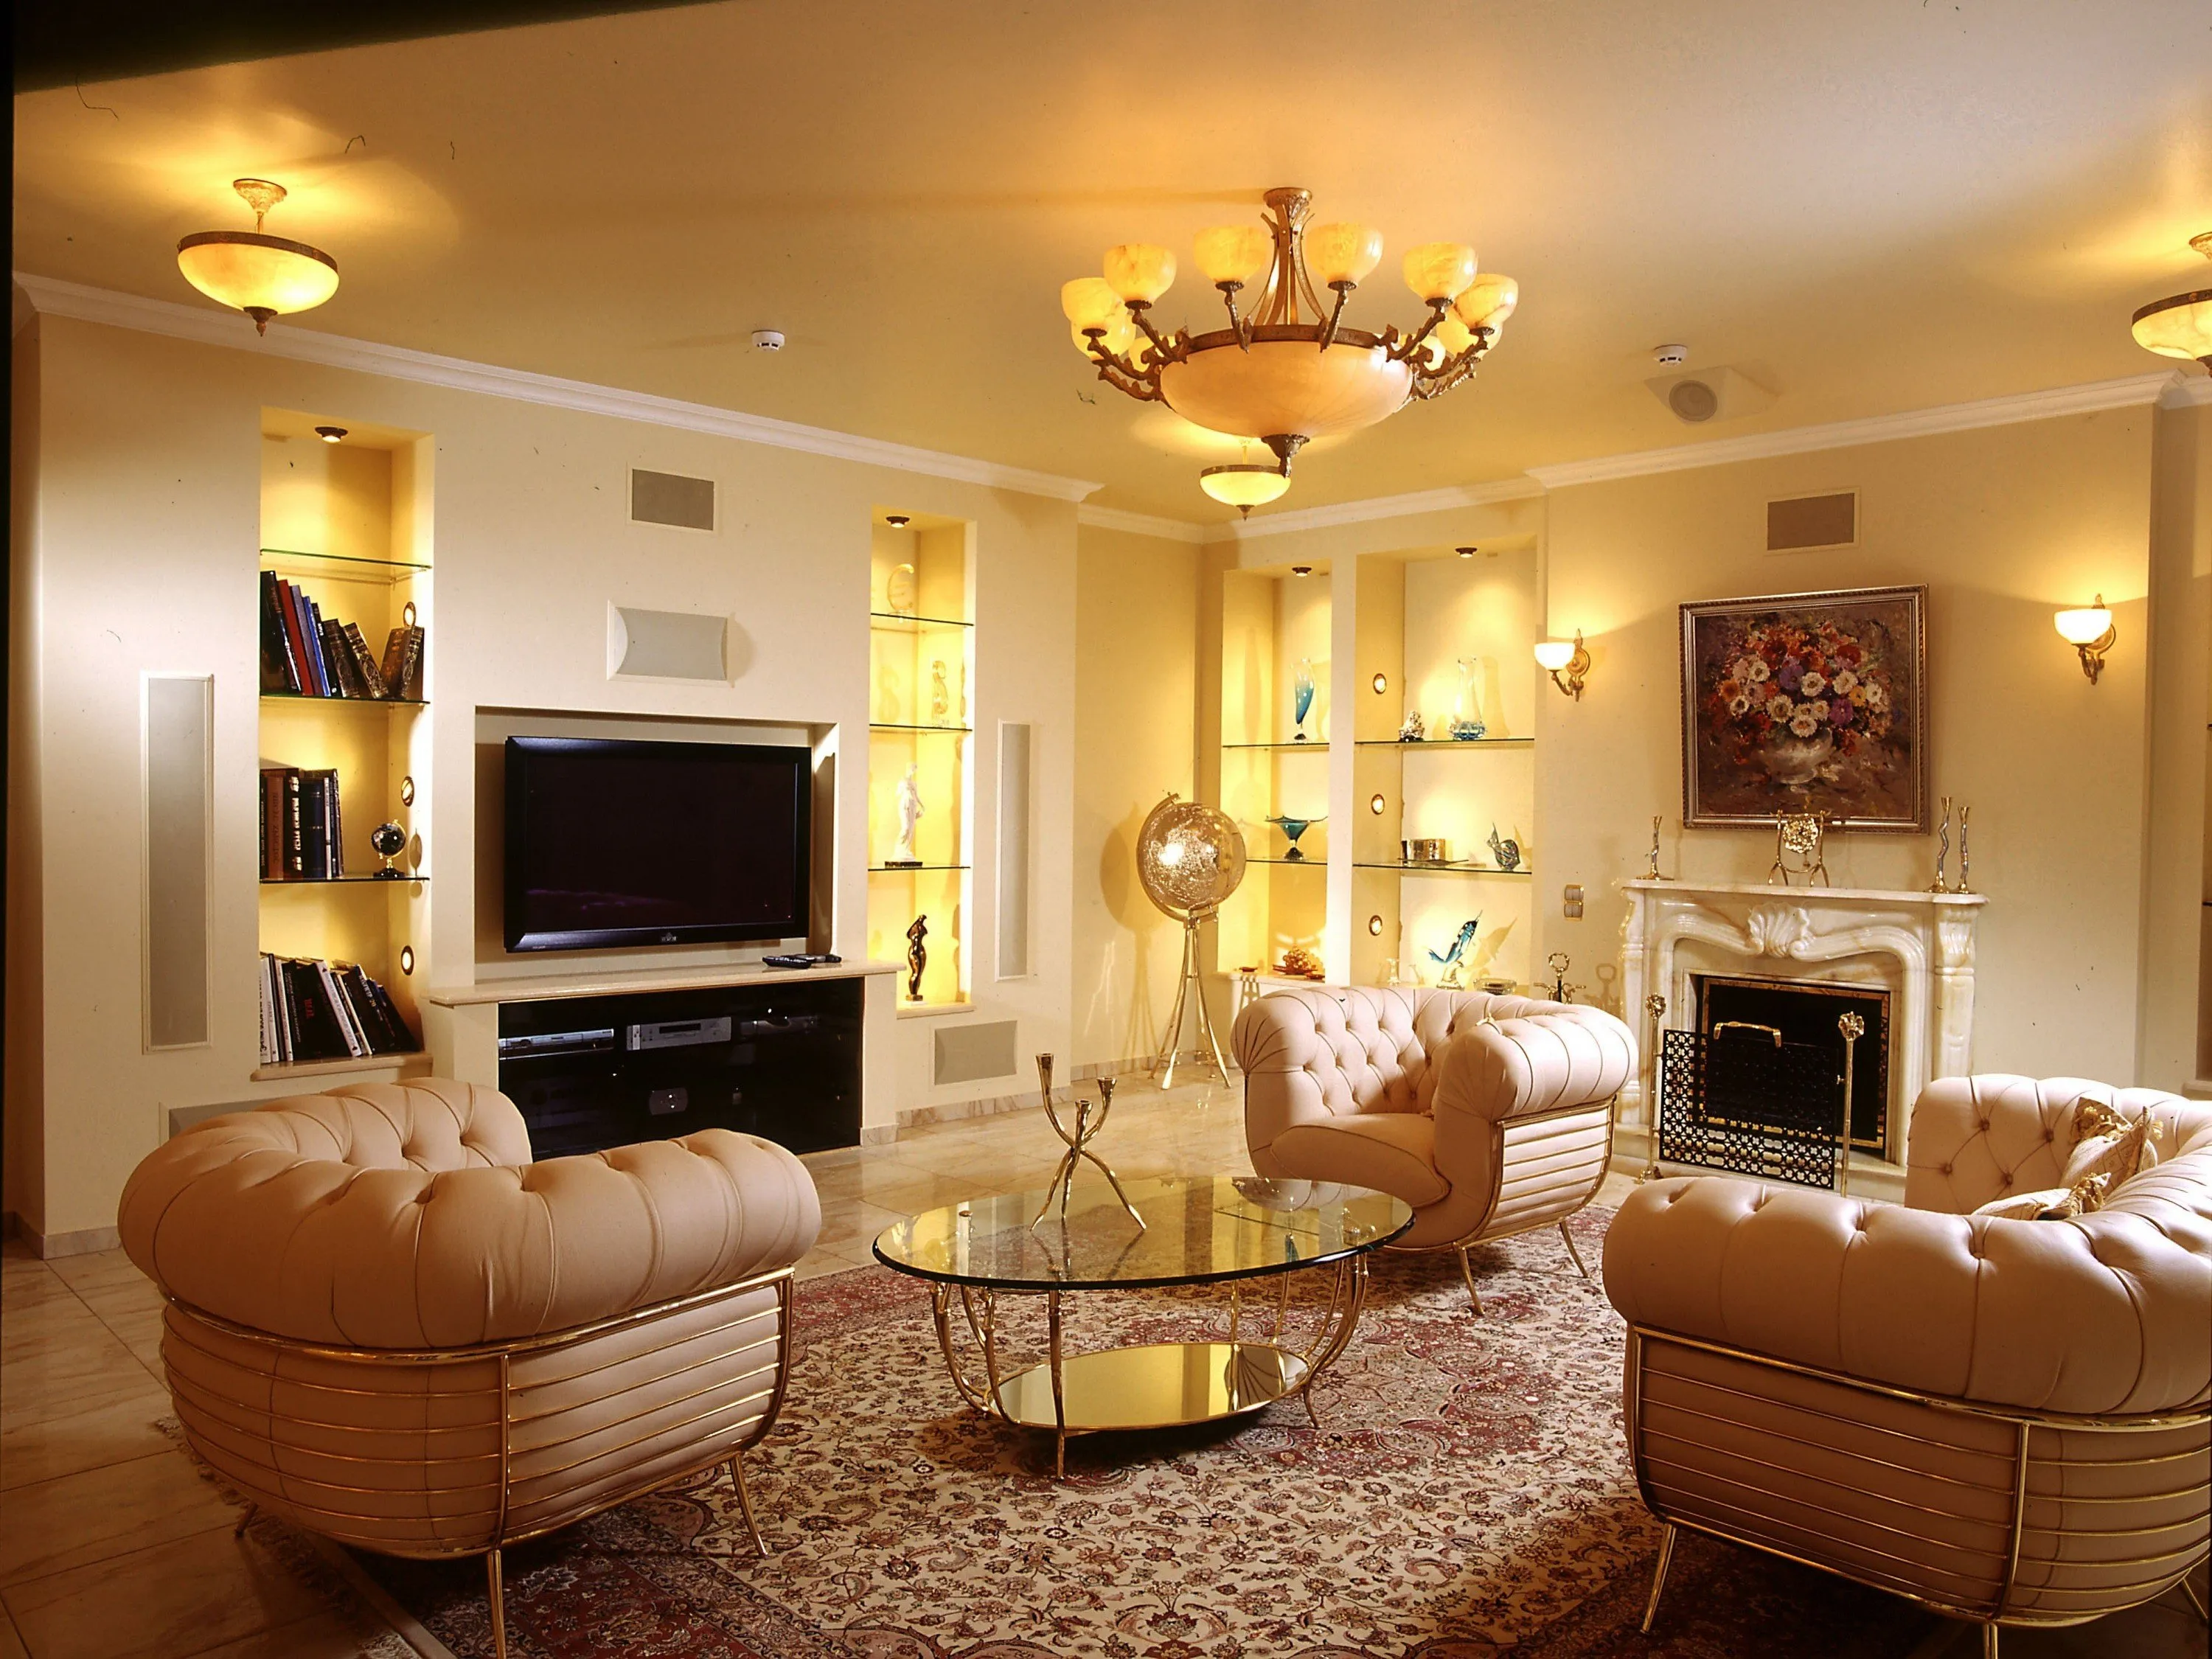
Luxury Living Room Furniture
High-end pieces spanning modern, neo-classical, and Italian Gothic styles — craftsmanship, leathers, and refined artistry.
Read More →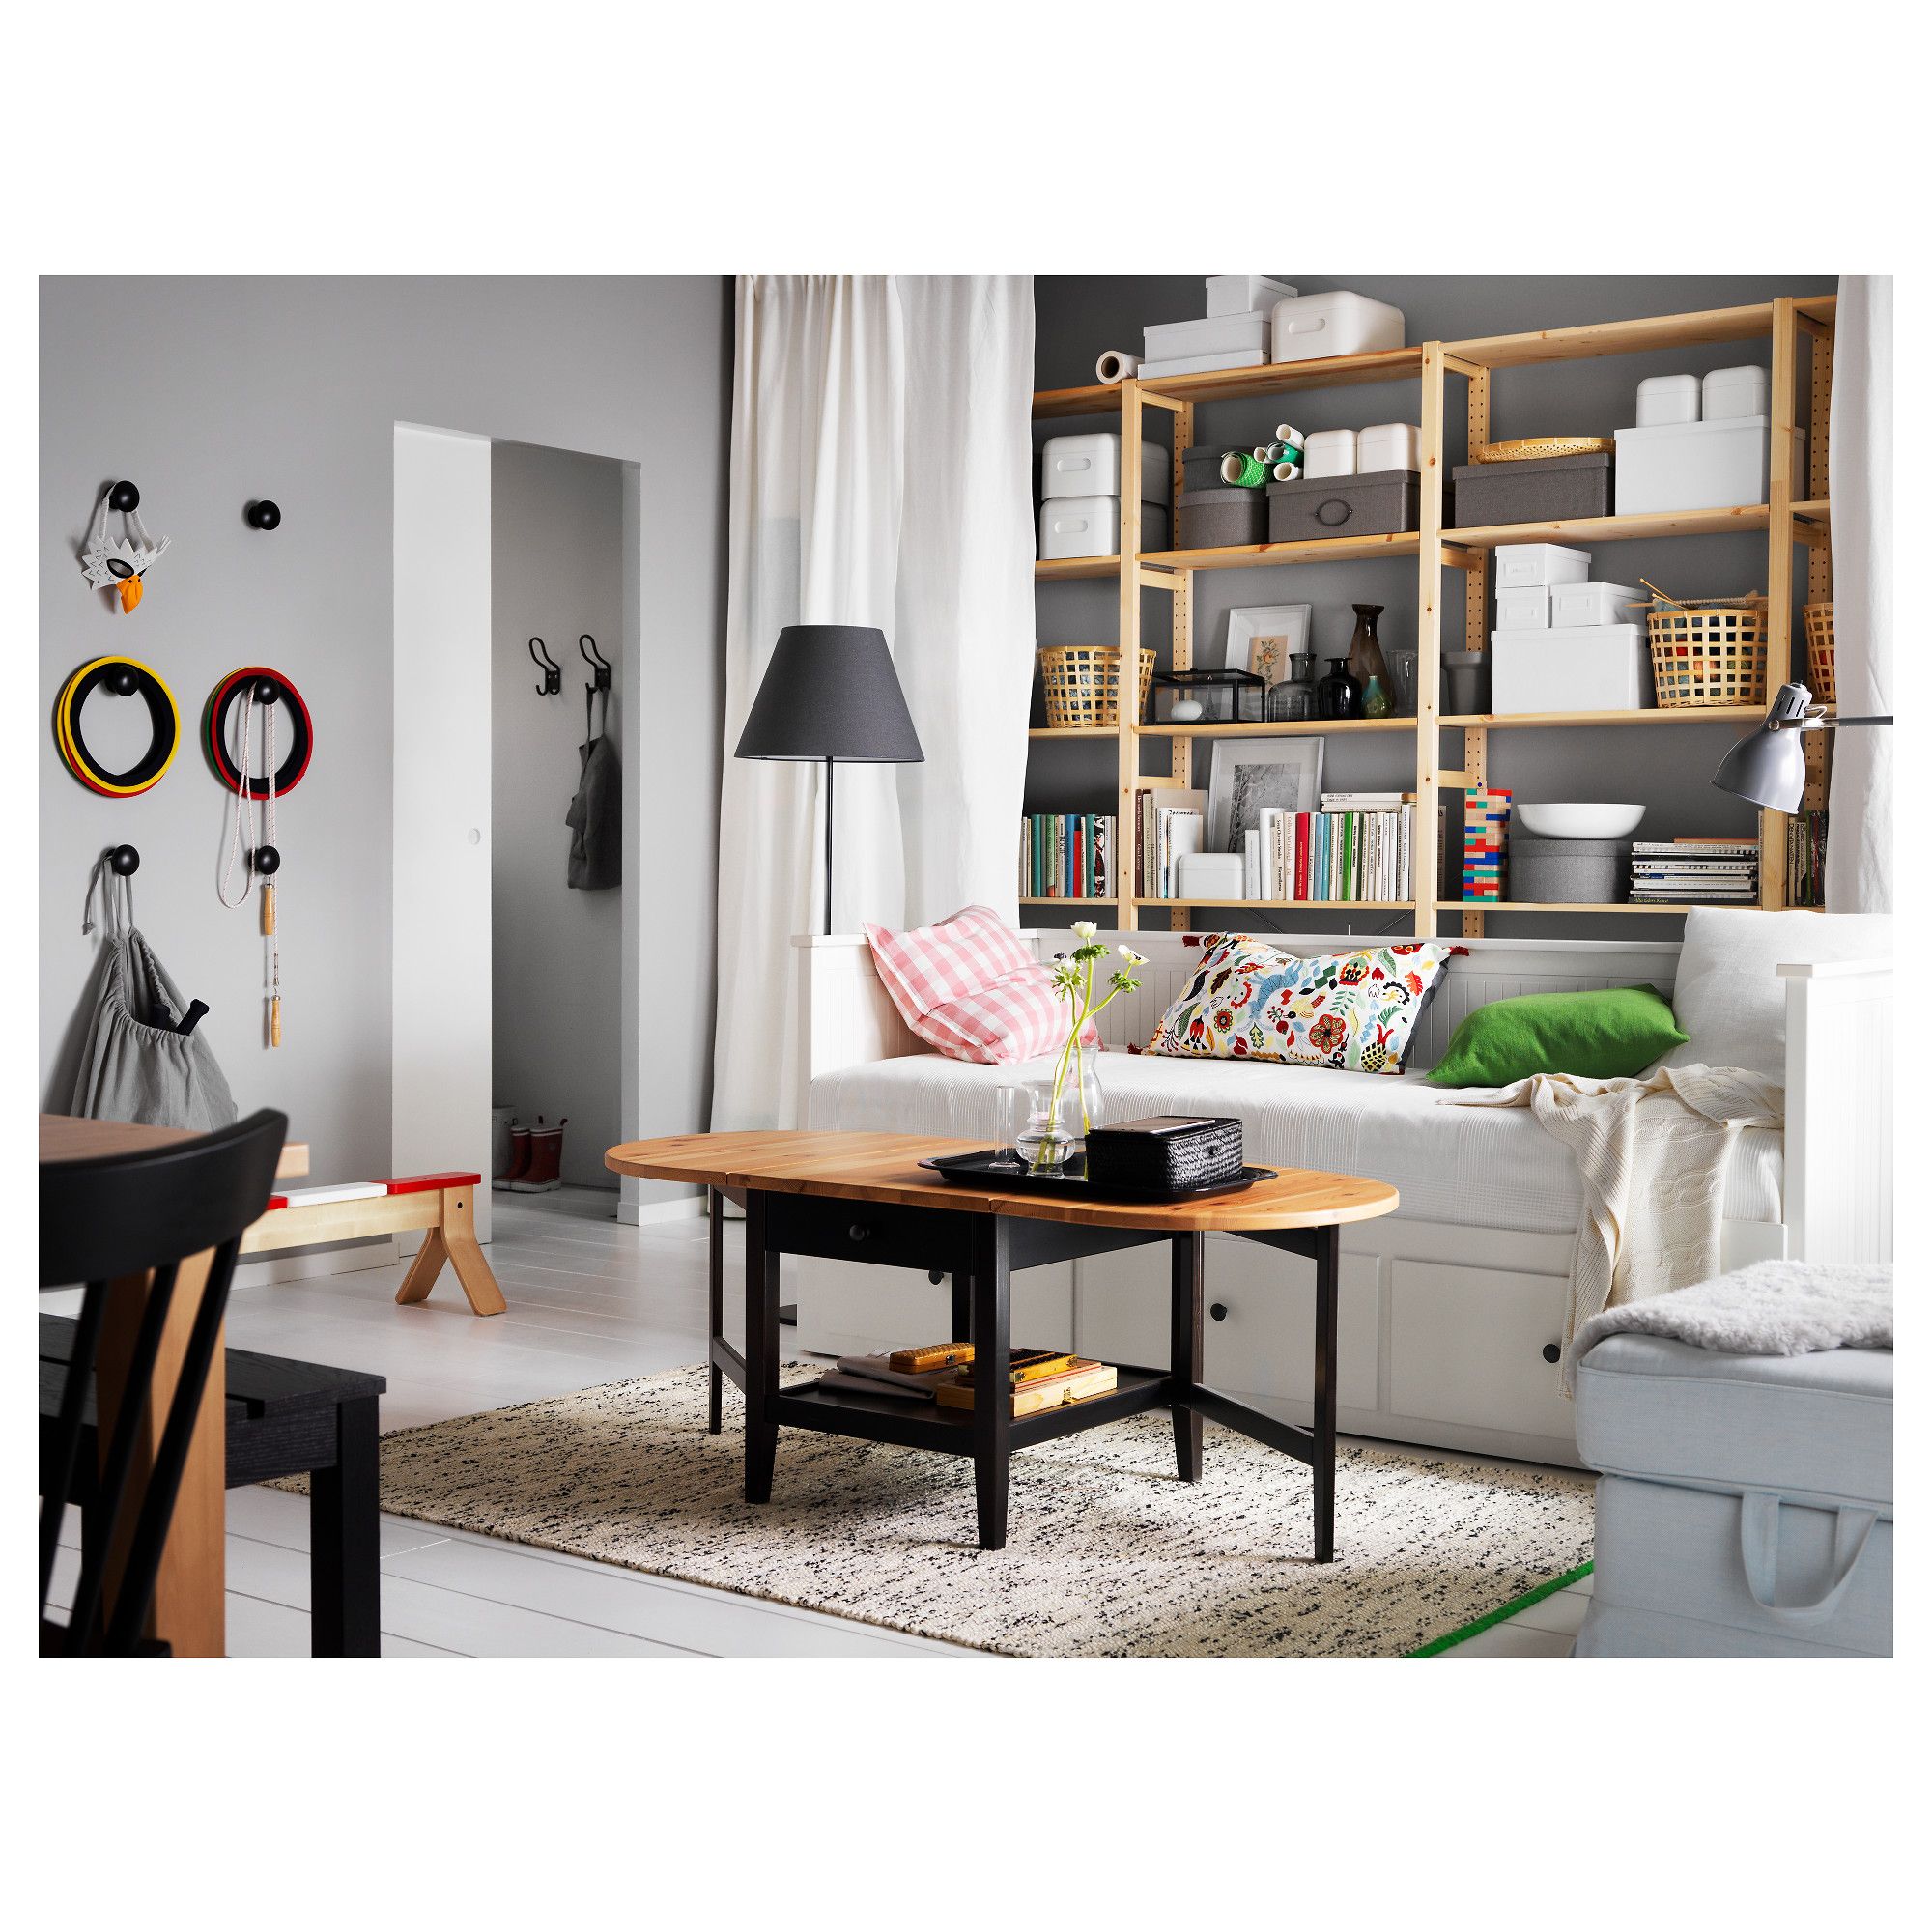
White Living Room Storage Cabinets
Sideboards, curio cabinets, and high-gloss storage units that blend practical organization with decorative appeal.
Read More →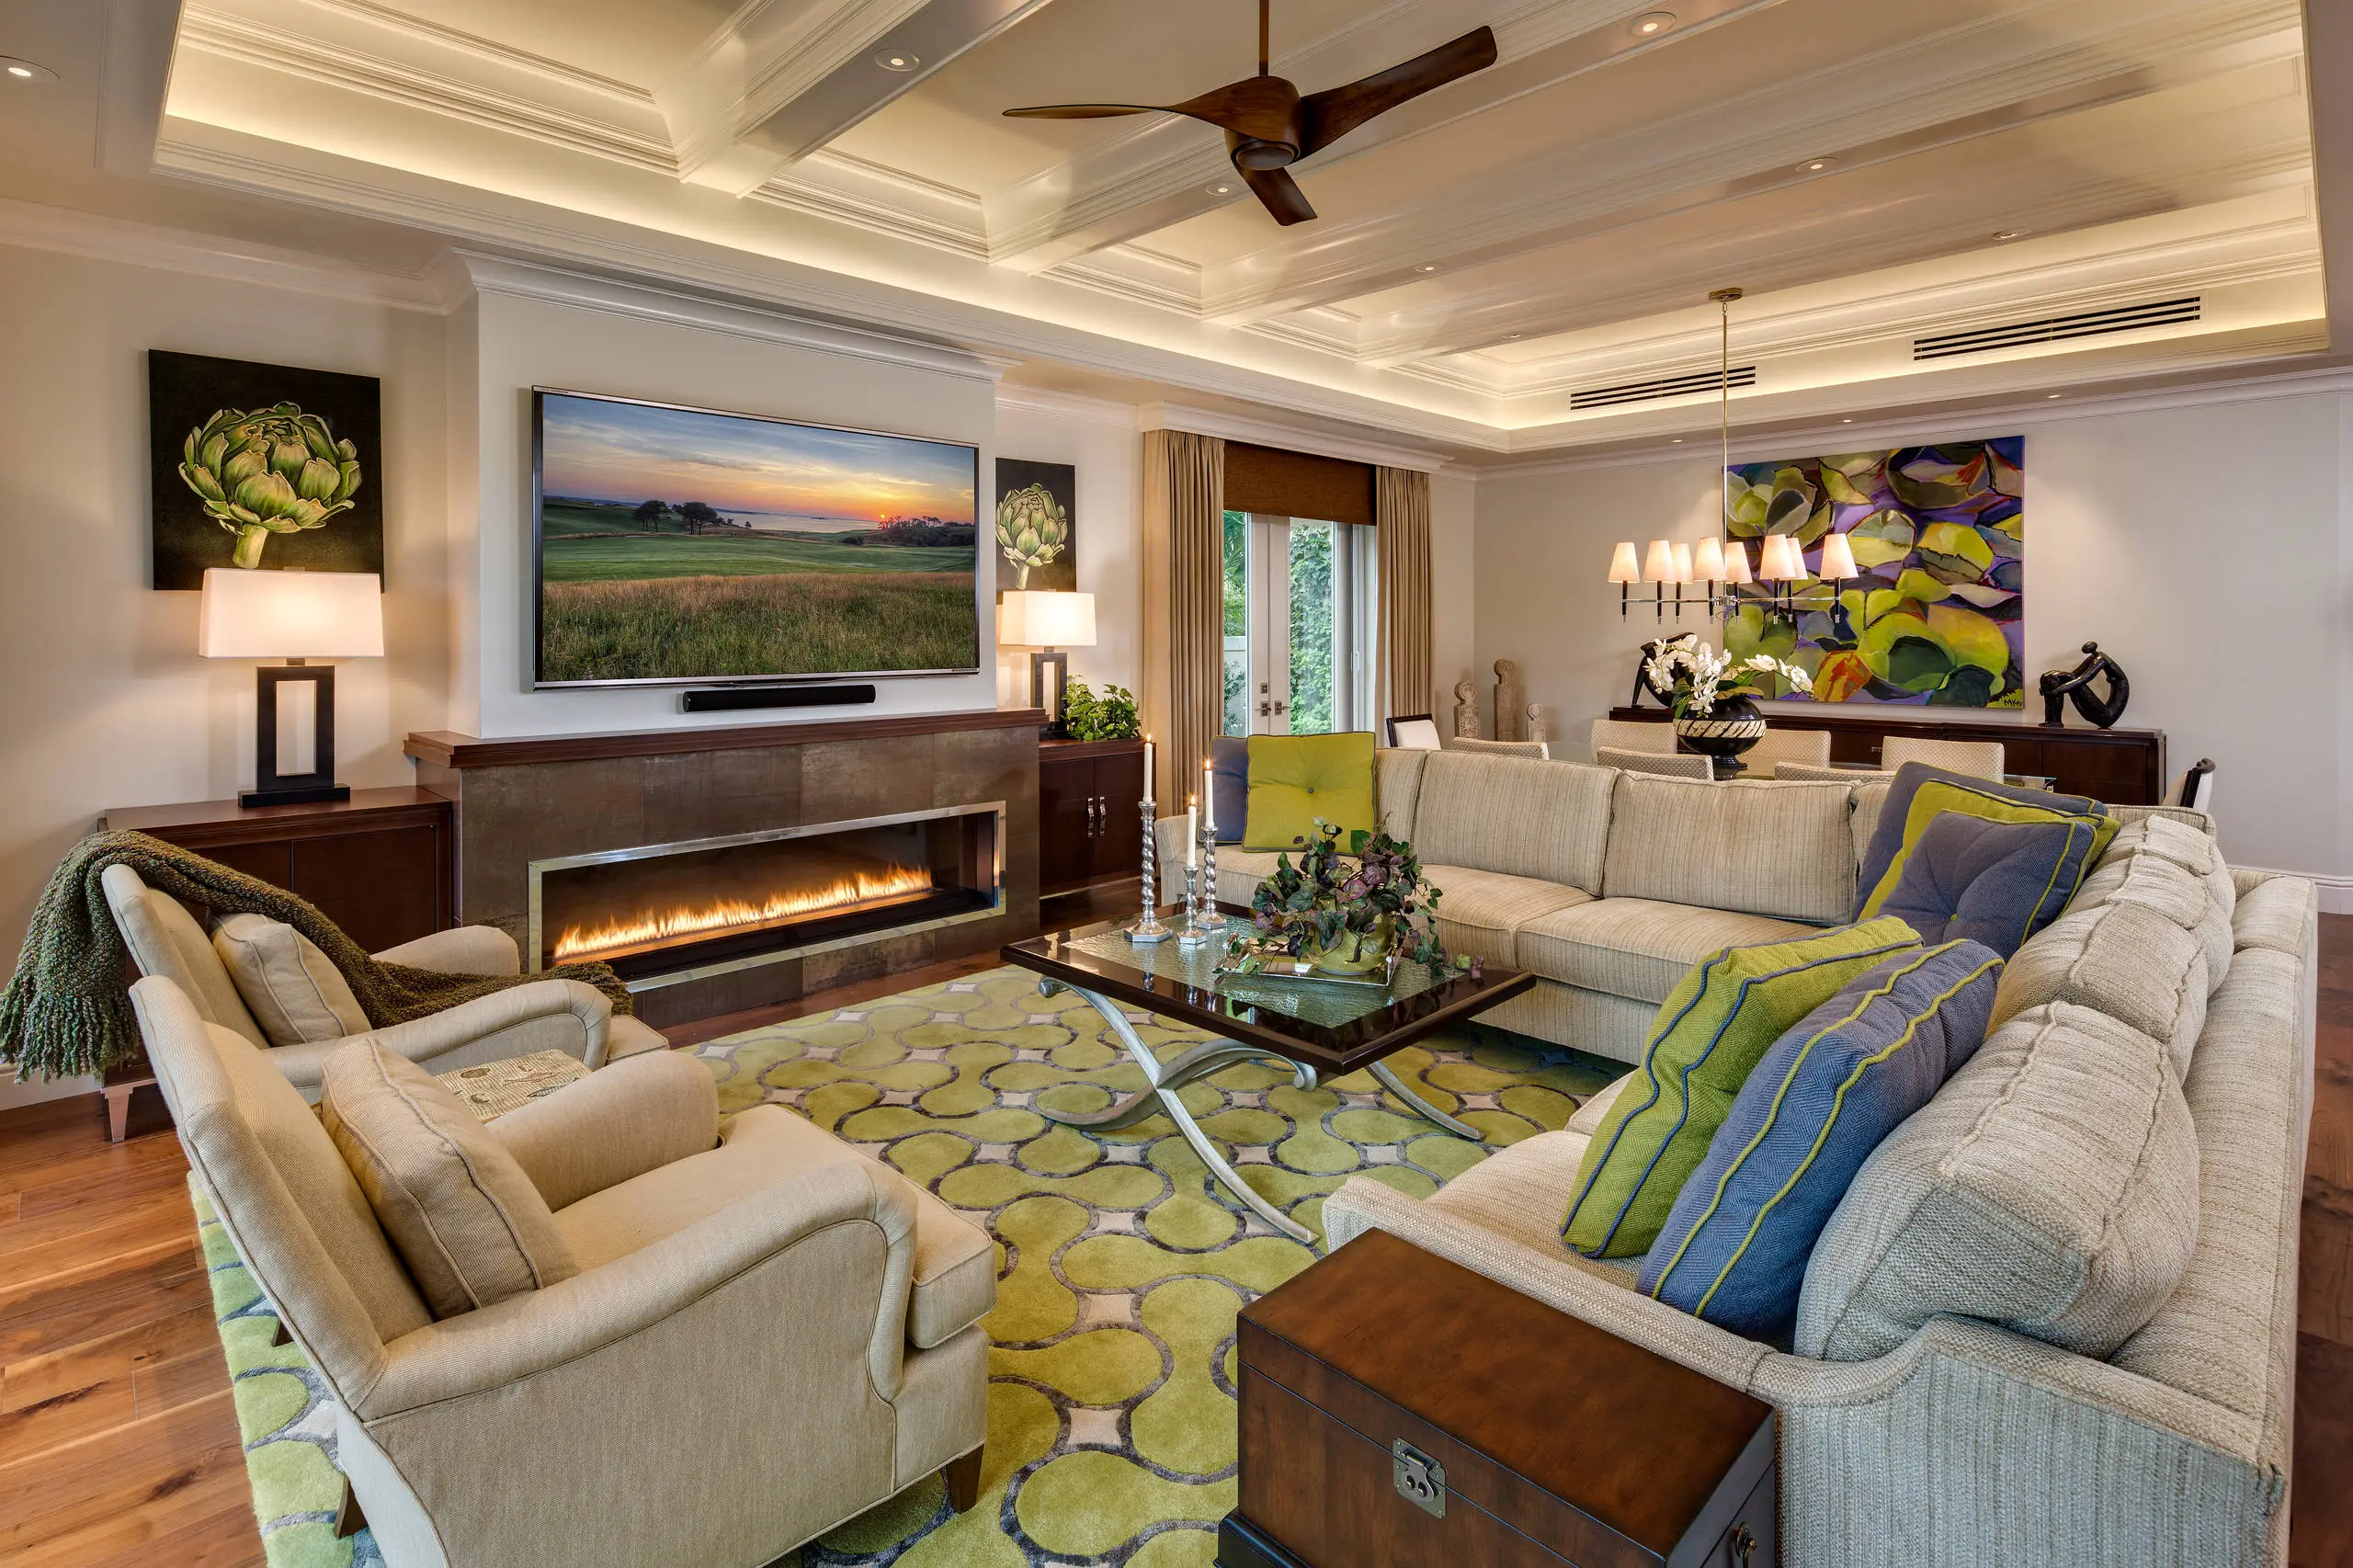
Living Room Decor Essentials
Rugs, pillows, art, lamps, and accent pieces that add layers of color, texture, and personality to any living space.
Read More →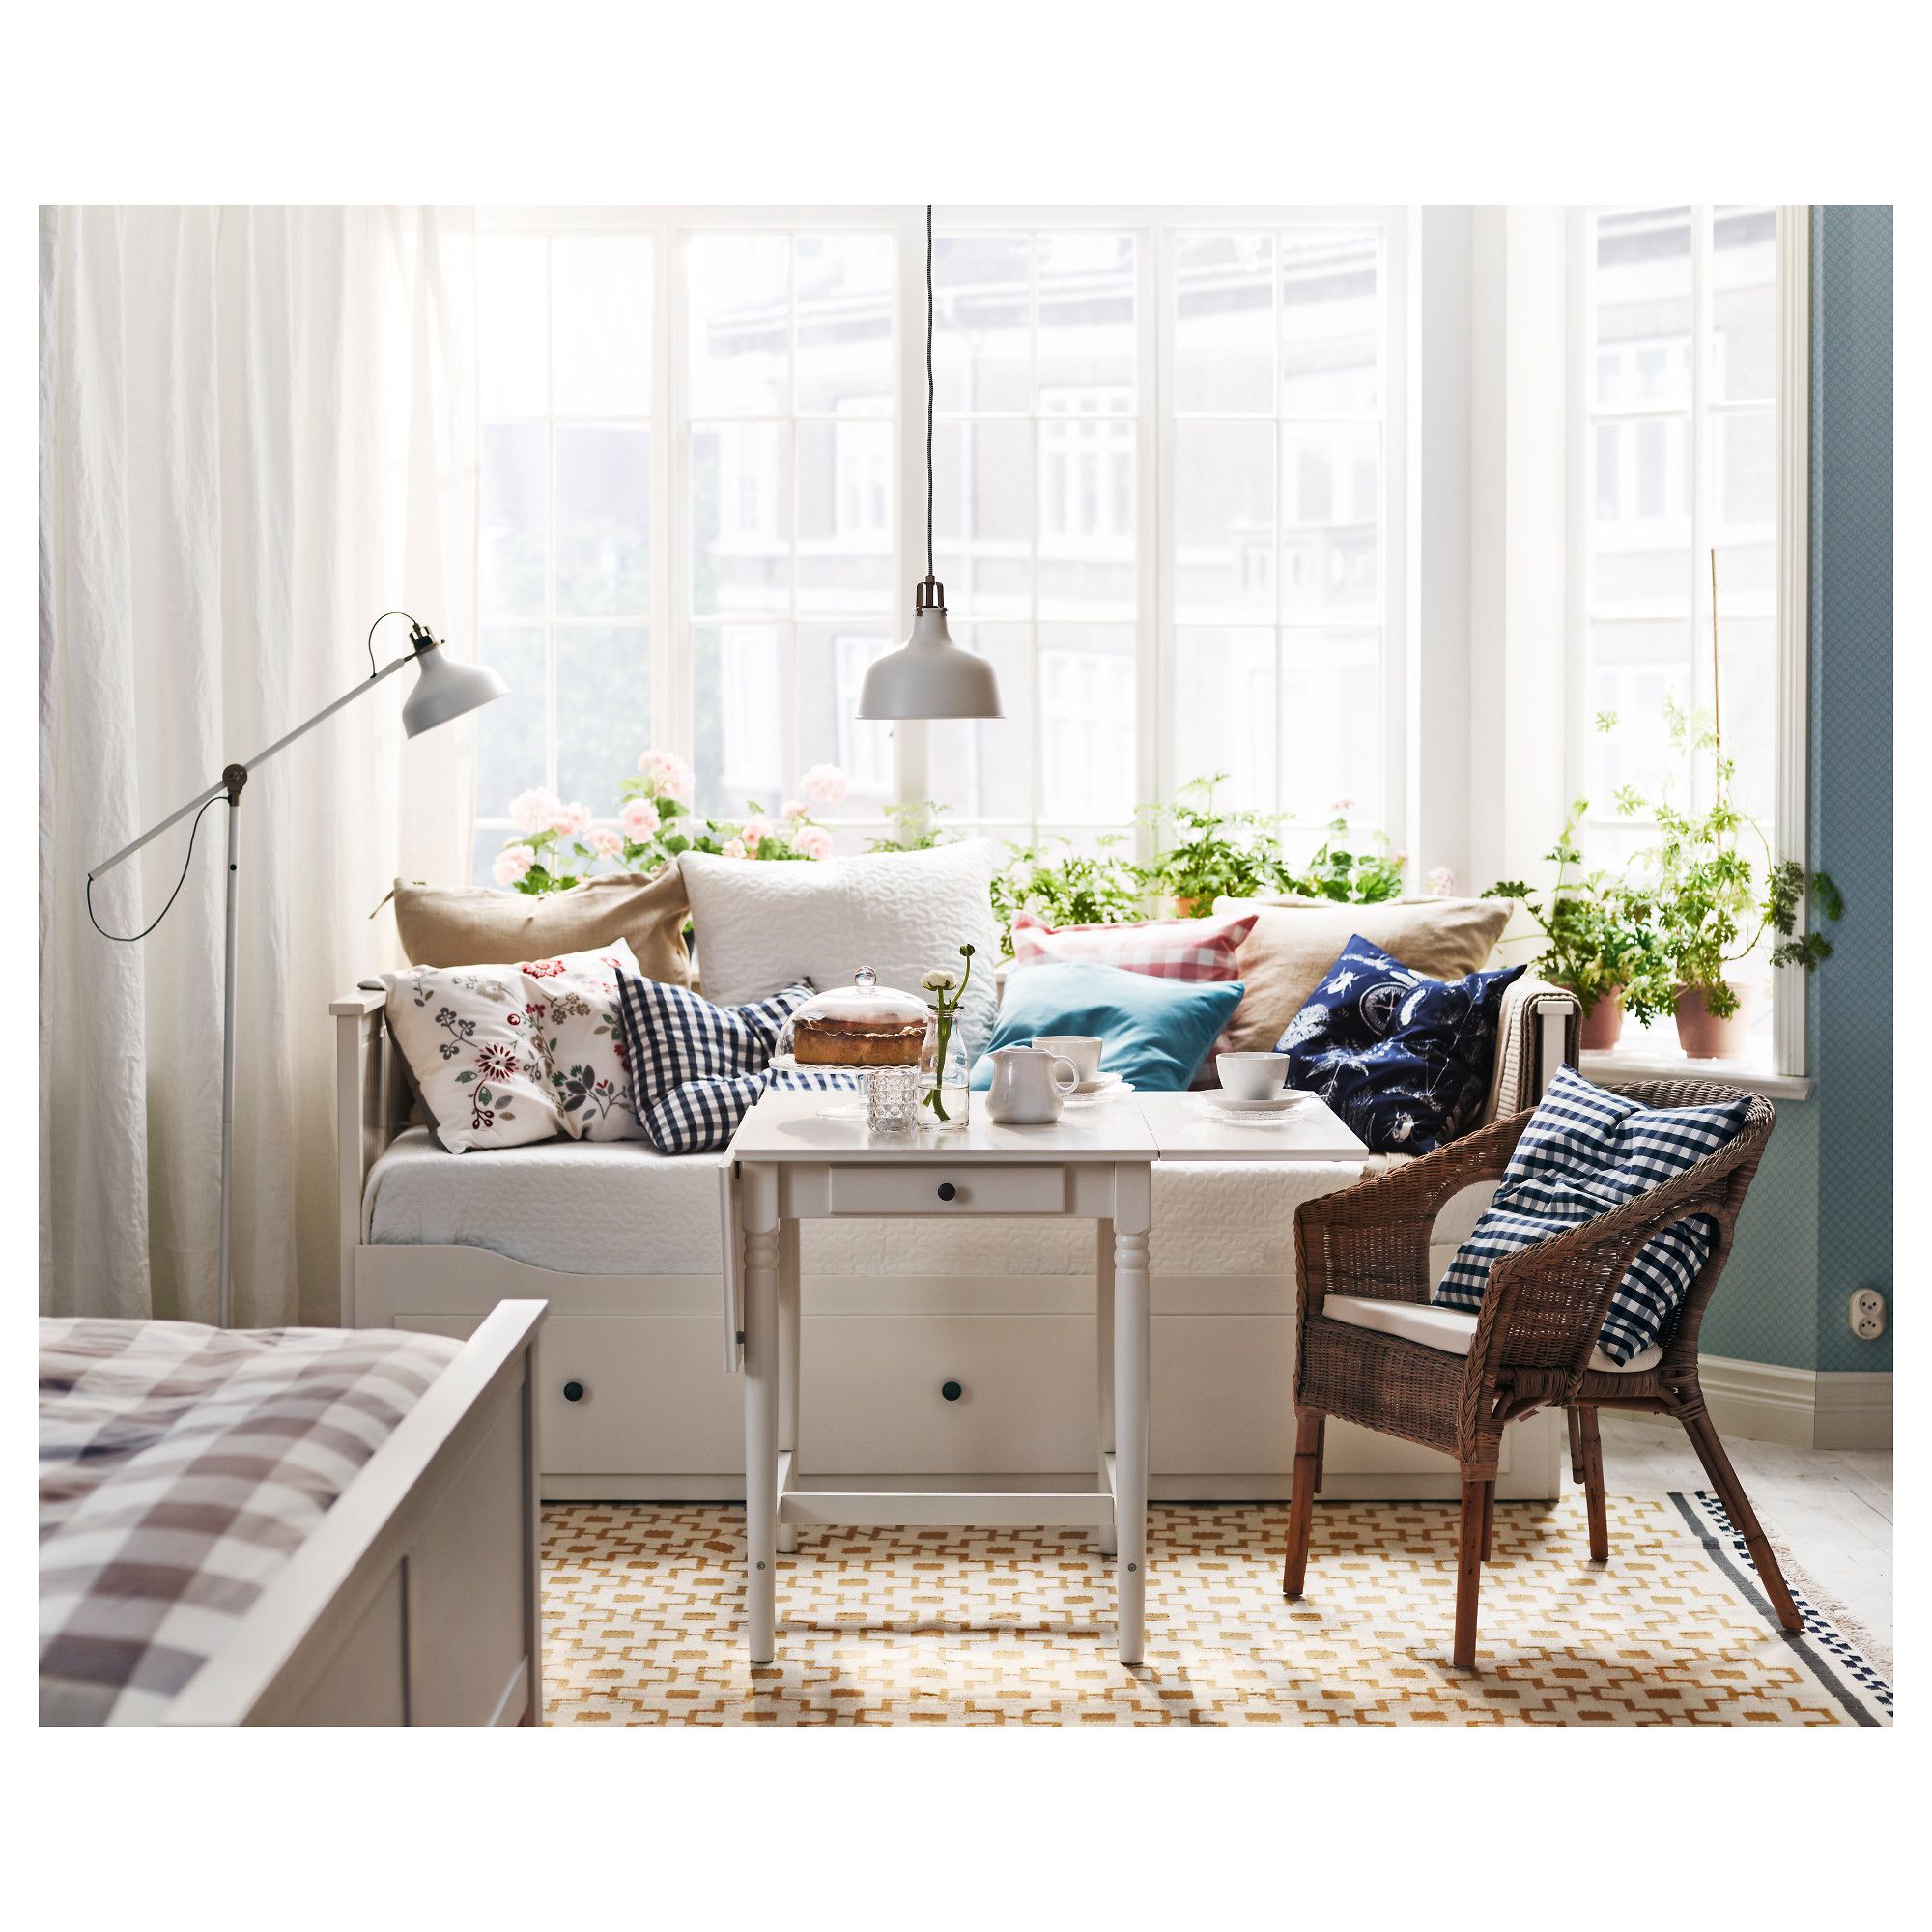
Natural Living Room Decor
Earthy elements, house plants, rustic touches, and organic materials that bring warmth and nature indoors.
Read More →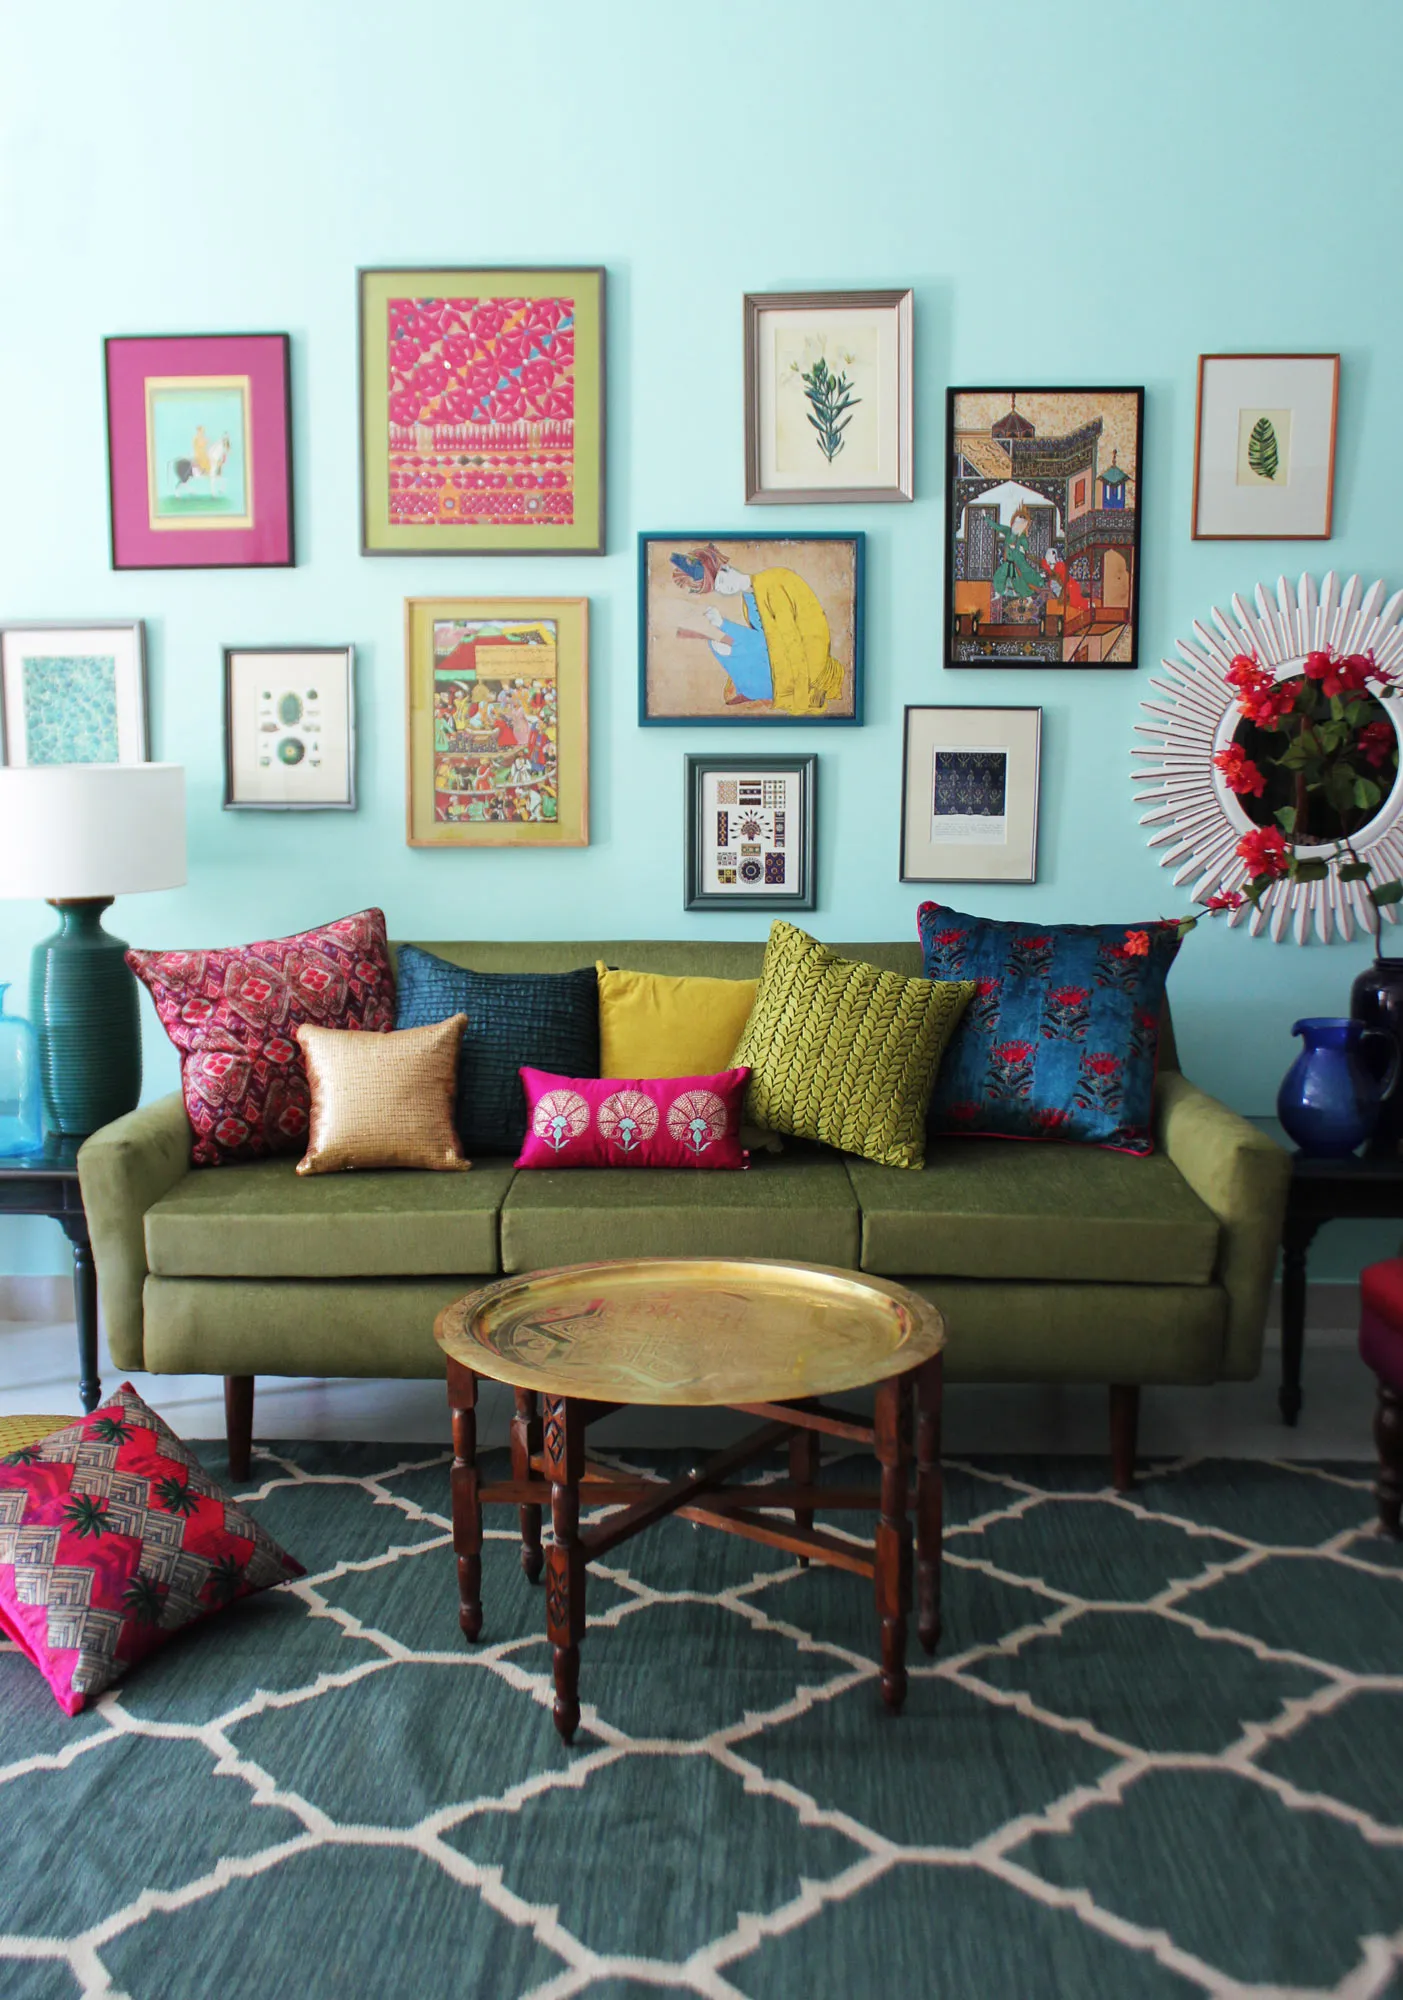
Living Room Ideas: Velvet Sofa
From classic red to trending green and blue, explore how a velvet sofa can transform your living room's character.
Read More →