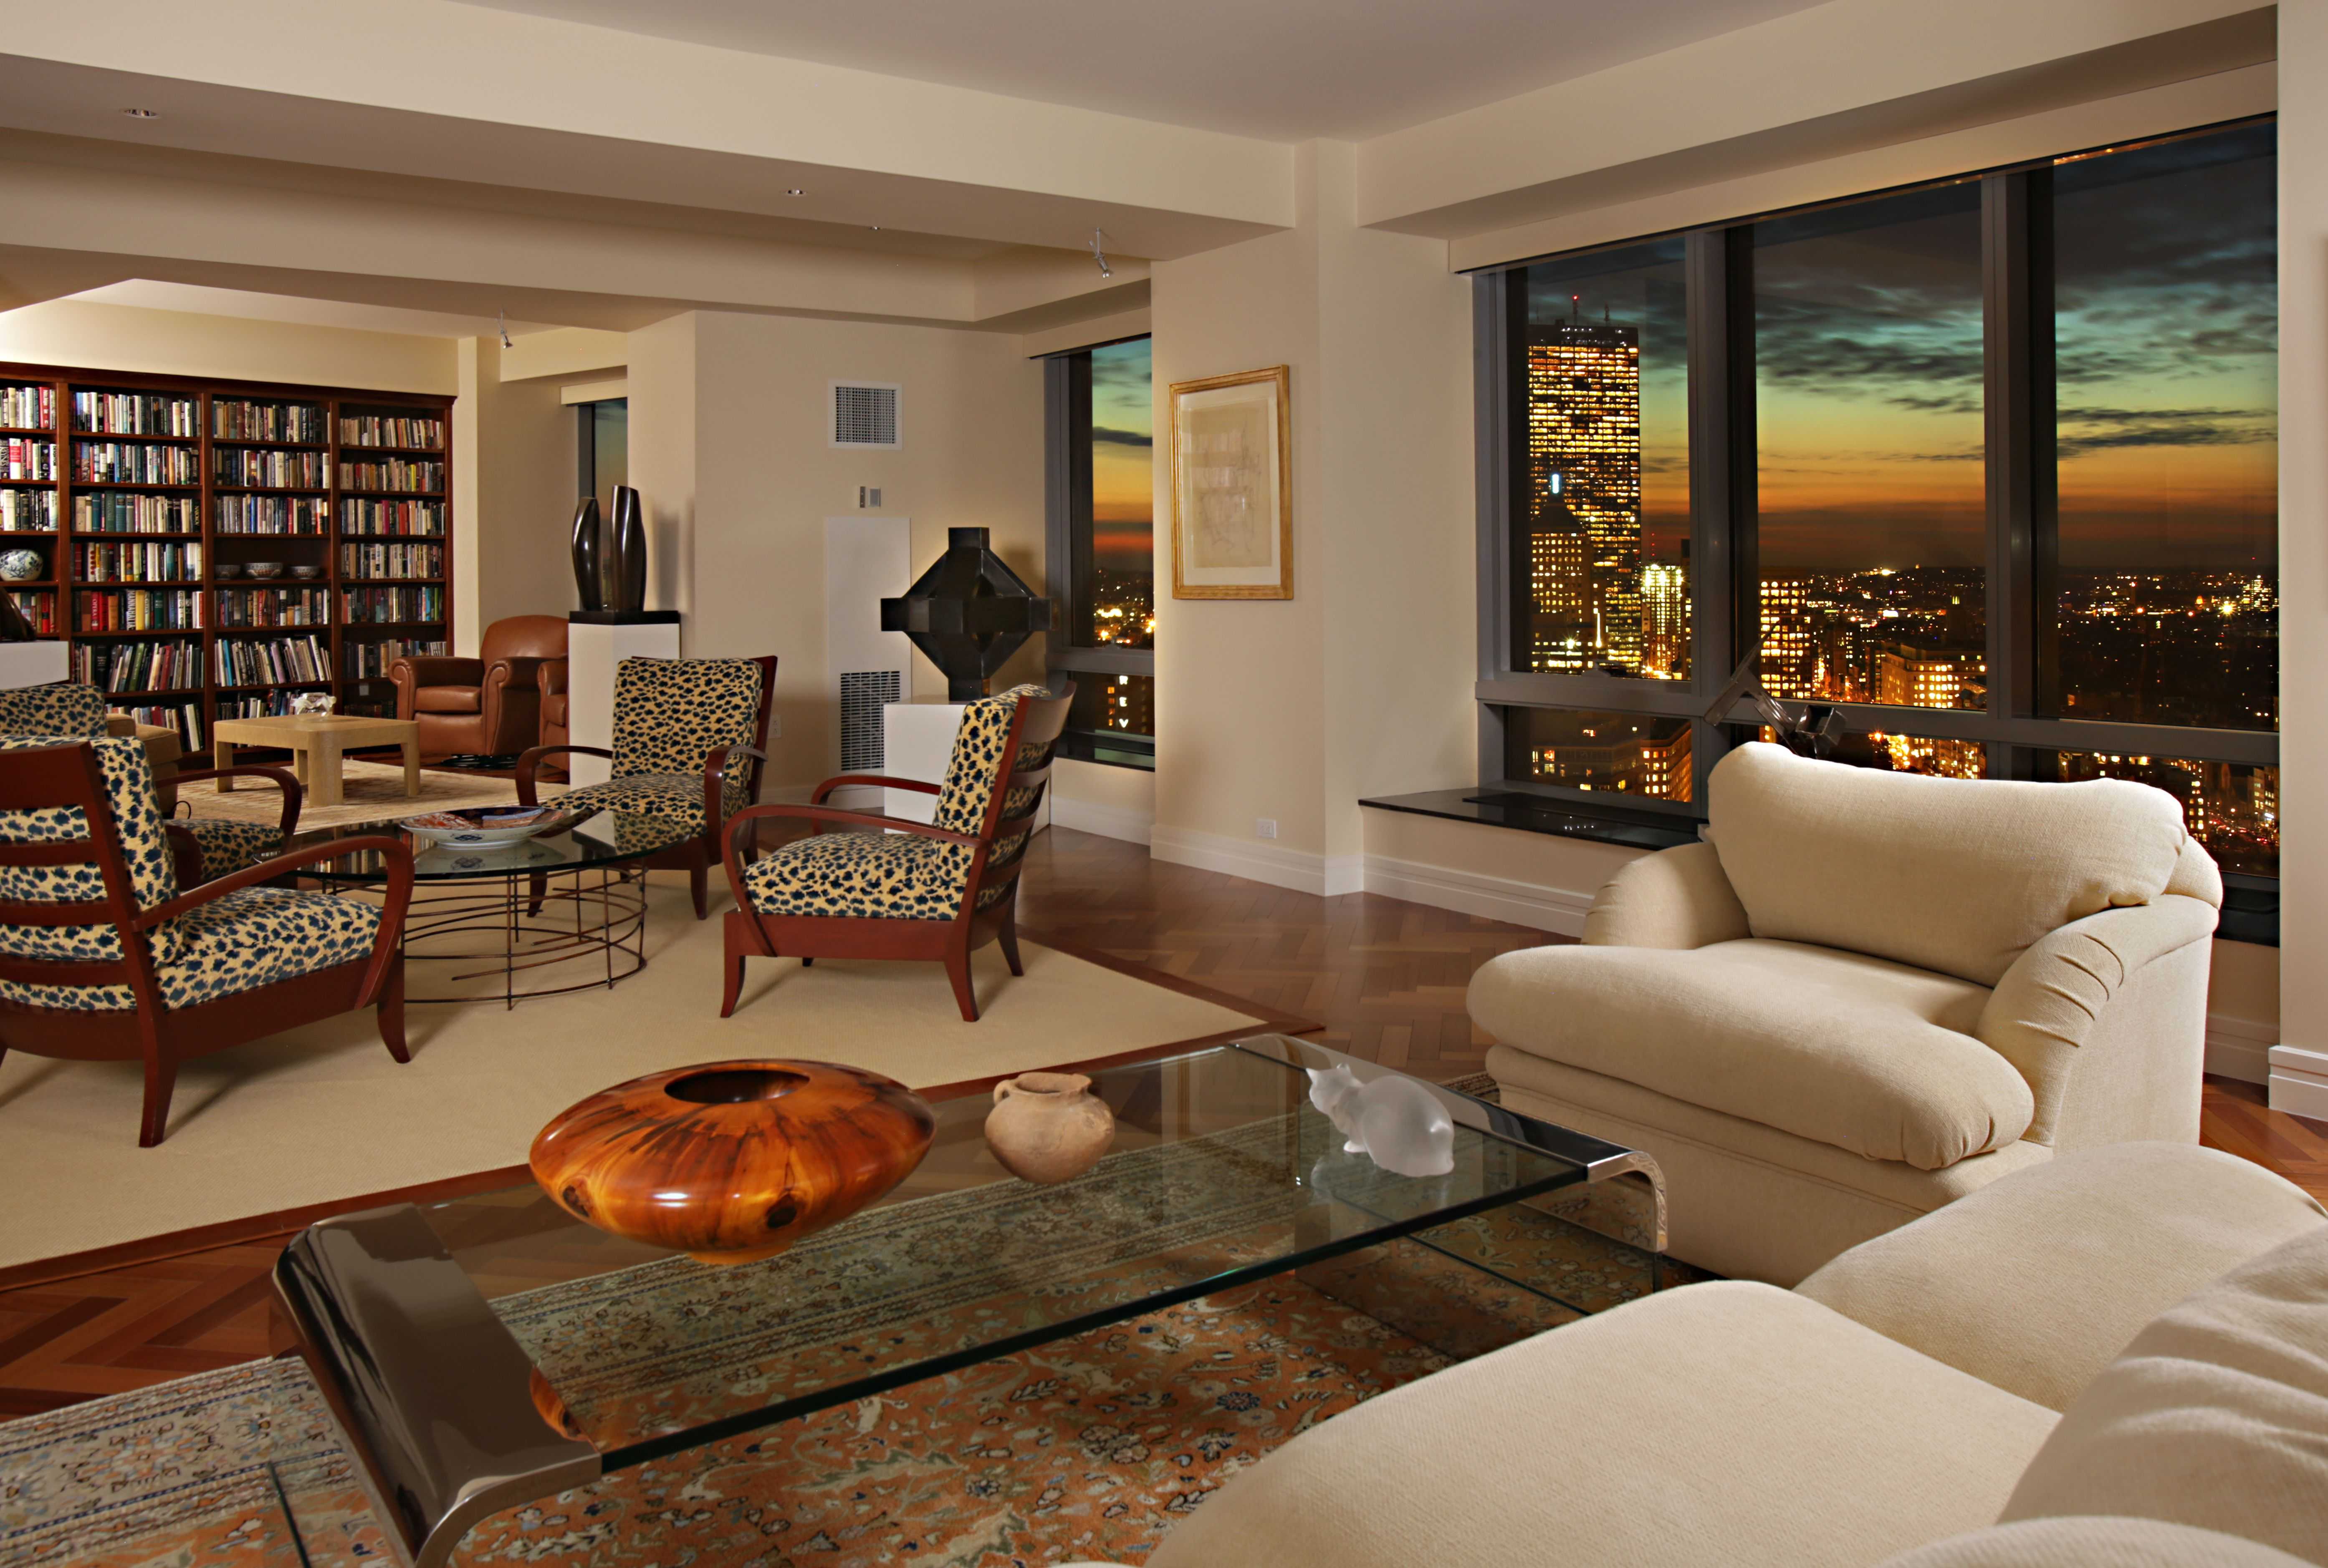
Living Room Design Ideas & Inspiration
Kumpulan Informasi, Tips dan Trik Terlengkap dan Terpercaya — explore curated ideas for sofas, storage, decor, and every style in between.
Explore Ideas →Get Design Inspiration
Tell us what you're looking for and we'll point you to the best articles.
How to create a gallery wall without damaging the paint
A gallery wall can give a living room personality without requiring a full renovation. Family photographs, travel prints, woven pieces and small mirrors can turn a blank wall into a focal point, yet hanging them carelessly may leave holes, lifted paint or stubborn adhesive marks behind.
The safest approach combines light artwork, removable hanging products and a little planning. This matters especially in Australian homes, where plasterboard walls, rental agreements and the occasional humid coastal climate can affect how well hooks and strips perform.
Start with the wall and the artwork
Choose a wall that has enough breathing room around the display. A gallery arrangement usually looks balanced above a sofa, console or sideboard, with the centre of the collection sitting roughly at eye level. Leave space around doors, light switches and air-conditioning vents so the display feels intentional rather than crowded.
Before attaching anything, check the wall surface. Clean, dry, smooth paint gives removable strips the best chance of holding securely. Dust, cooking residue and condensation can weaken the adhesive, so wipe the area with a clean, lightly dampened cloth and allow it to dry fully. Avoid placing adhesive directly over flaking paint, fresh paint or textured finishes.
Keep the overall load low. Unframed prints, small canvases, thin timber frames and lightweight acrylic frames are safer choices than heavy glass-fronted artwork. If your arrangement includes a large mirror or a substantial frame, a proper wall fixing may be necessary; “damage-free” products are not designed to support every object.
Pick hanging products that suit the surface
Removable adhesive strips are useful for lightweight frames because they hold two surfaces together and can usually be pulled away slowly when the display changes. Picture-hanging hooks with flexible adhesive backing are another option, particularly when the frame has a hanging wire or sawtooth fitting. Read the weight rating carefully and use the correct number of strips for each item.
Australian retailers such as Bunnings carry a broad range of removable hooks, picture strips and small hanging accessories. Product ratings vary, so treat the stated capacity as a limit rather than a target. A frame weighing close to the maximum is more likely to slip when the room becomes warm or humid.
For renters, removable systems can help protect a bond, but they are not automatically suitable for every tenancy. Check the agreement before installing anything, particularly in apartments managed by a strata scheme. Keep the original packaging or photograph the product instructions so you know how it should be removed later.
Test the arrangement before fixing it
Create the layout on the floor first. Cut paper templates to match each frame, label them, and arrange the pieces until the spacing feels consistent. This simple step prevents repeated repositioning, which is one of the easiest ways to scuff paint or stretch adhesive.
A gap of 5 to 8 centimetres between frames usually creates a tidy rhythm. You can mix portrait and landscape artwork, but repeat one or two visual details, such as black borders, warm timber or a shared accent colour. A larger central piece can anchor the composition, while smaller prints fill the edges.
Once the paper arrangement works, use low-tack painter’s tape to transfer each template to the wall. Stand several steps back and view the display from the sofa and the main entry point. In a Sydney terrace, a narrow vertical arrangement may suit the wall proportions; in a broad open-plan Queensland room, a wider horizontal grouping can better match the furniture.
Attach each frame carefully
Follow the preparation instructions supplied with the hanging product. Press the adhesive firmly against both the wall and the frame, then wait for the recommended period before loading it. Some products need time to bond, so hanging artwork immediately can cause an avoidable failure.
Keep the frame level while attaching it. A small spirit level or a phone-based levelling tool can help, although checking the distance from nearby furniture is just as important. Use two points of support for wider frames to reduce twisting and prevent one corner from pulling away from the wall.
Do not attach strips to dusty, damp or recently painted surfaces. Fresh paint may feel dry but still needs time to cure properly. In a beachside home or a humid part of Queensland, allow extra drying time after cleaning and avoid mounting artwork on a wall that regularly collects condensation.
Build a composition that works with the room
The gallery wall should relate to the furniture beneath it. Over a sofa, keep the lower edge of the arrangement close enough to feel connected, while leaving enough room for people to sit comfortably. If the collection sits above a console, include a little overlap in visual weight by combining artwork with a lamp, vase or small sculptural object.
For a practical living room, coordinate the display with fabrics and larger pieces. If children or pets use the space, choose acrylic glazing or unbreakable frames and avoid sharp corners at low level. A washable sofa can also make the room easier to live with; these ideas for a sofa with removable covers can help connect everyday comfort with a carefully styled wall.
Open-plan homes need a slightly wider view. The artwork may be visible from the dining area or kitchen, so repeat colours found elsewhere in the room rather than treating the wall as an isolated display. A screen or divider can define the sitting zone while giving the gallery wall a clearer backdrop; explore ways of separating open-plan zones without building a permanent partition.
Remove and refresh the display safely
When it is time to take the frames down, do not pull adhesive strips towards yourself. Hold the wall firmly and stretch the tab slowly in the direction indicated by the manufacturer. Pulling too quickly or at the wrong angle can lift paint, especially where the surface has already been weakened.
If a small mark remains, avoid scrubbing immediately. Wipe gently with a clean microfibre cloth and mild soapy water, testing an inconspicuous area first. For stubborn residue, use only a product labelled safe for painted surfaces and follow its instructions. Touch-up paint should match both the colour and the finish, as satin and low-sheen surfaces can show patches in bright Australian sunlight.
A gallery wall is easy to evolve when the original layout has been documented. Photograph the arrangement before removing it, store spare strips with the frames, and keep a note of each item’s weight. This makes seasonal updates, moving house or refreshing a rental much less stressful.
| Hanging method | Best suited to | Paint and wall risk | Removal notes |
|---|---|---|---|
| Removable picture strips | Lightweight frames and prints | Low when correctly applied | Stretch the tab slowly |
| Adhesive hooks | Frames with wire or sawtooth fittings | Low to moderate | Follow the weight rating |
| Low-tack painter’s tape | Temporary templates only | Very low | Remove gently within a reasonable period |
| Small picture hooks | Heavier framed artwork | Leaves a small hole | Fill and touch up if permitted |
| Nails or screws | Large mirrors and substantial frames | Highest | Check studs, services and tenancy rules |
Use the table as a starting point, then match the fixing to the object rather than relying on appearance alone. With paper templates, suitable lightweight artwork and patient removal, you can create a polished gallery wall that survives a rental inspection, a change of furniture or the next living-room refresh. Gather your favourite pieces, test the layout on the floor and make the wall a personal feature without sacrificing the paint beneath it.
What We Cover
Living Room Topics & Ideas
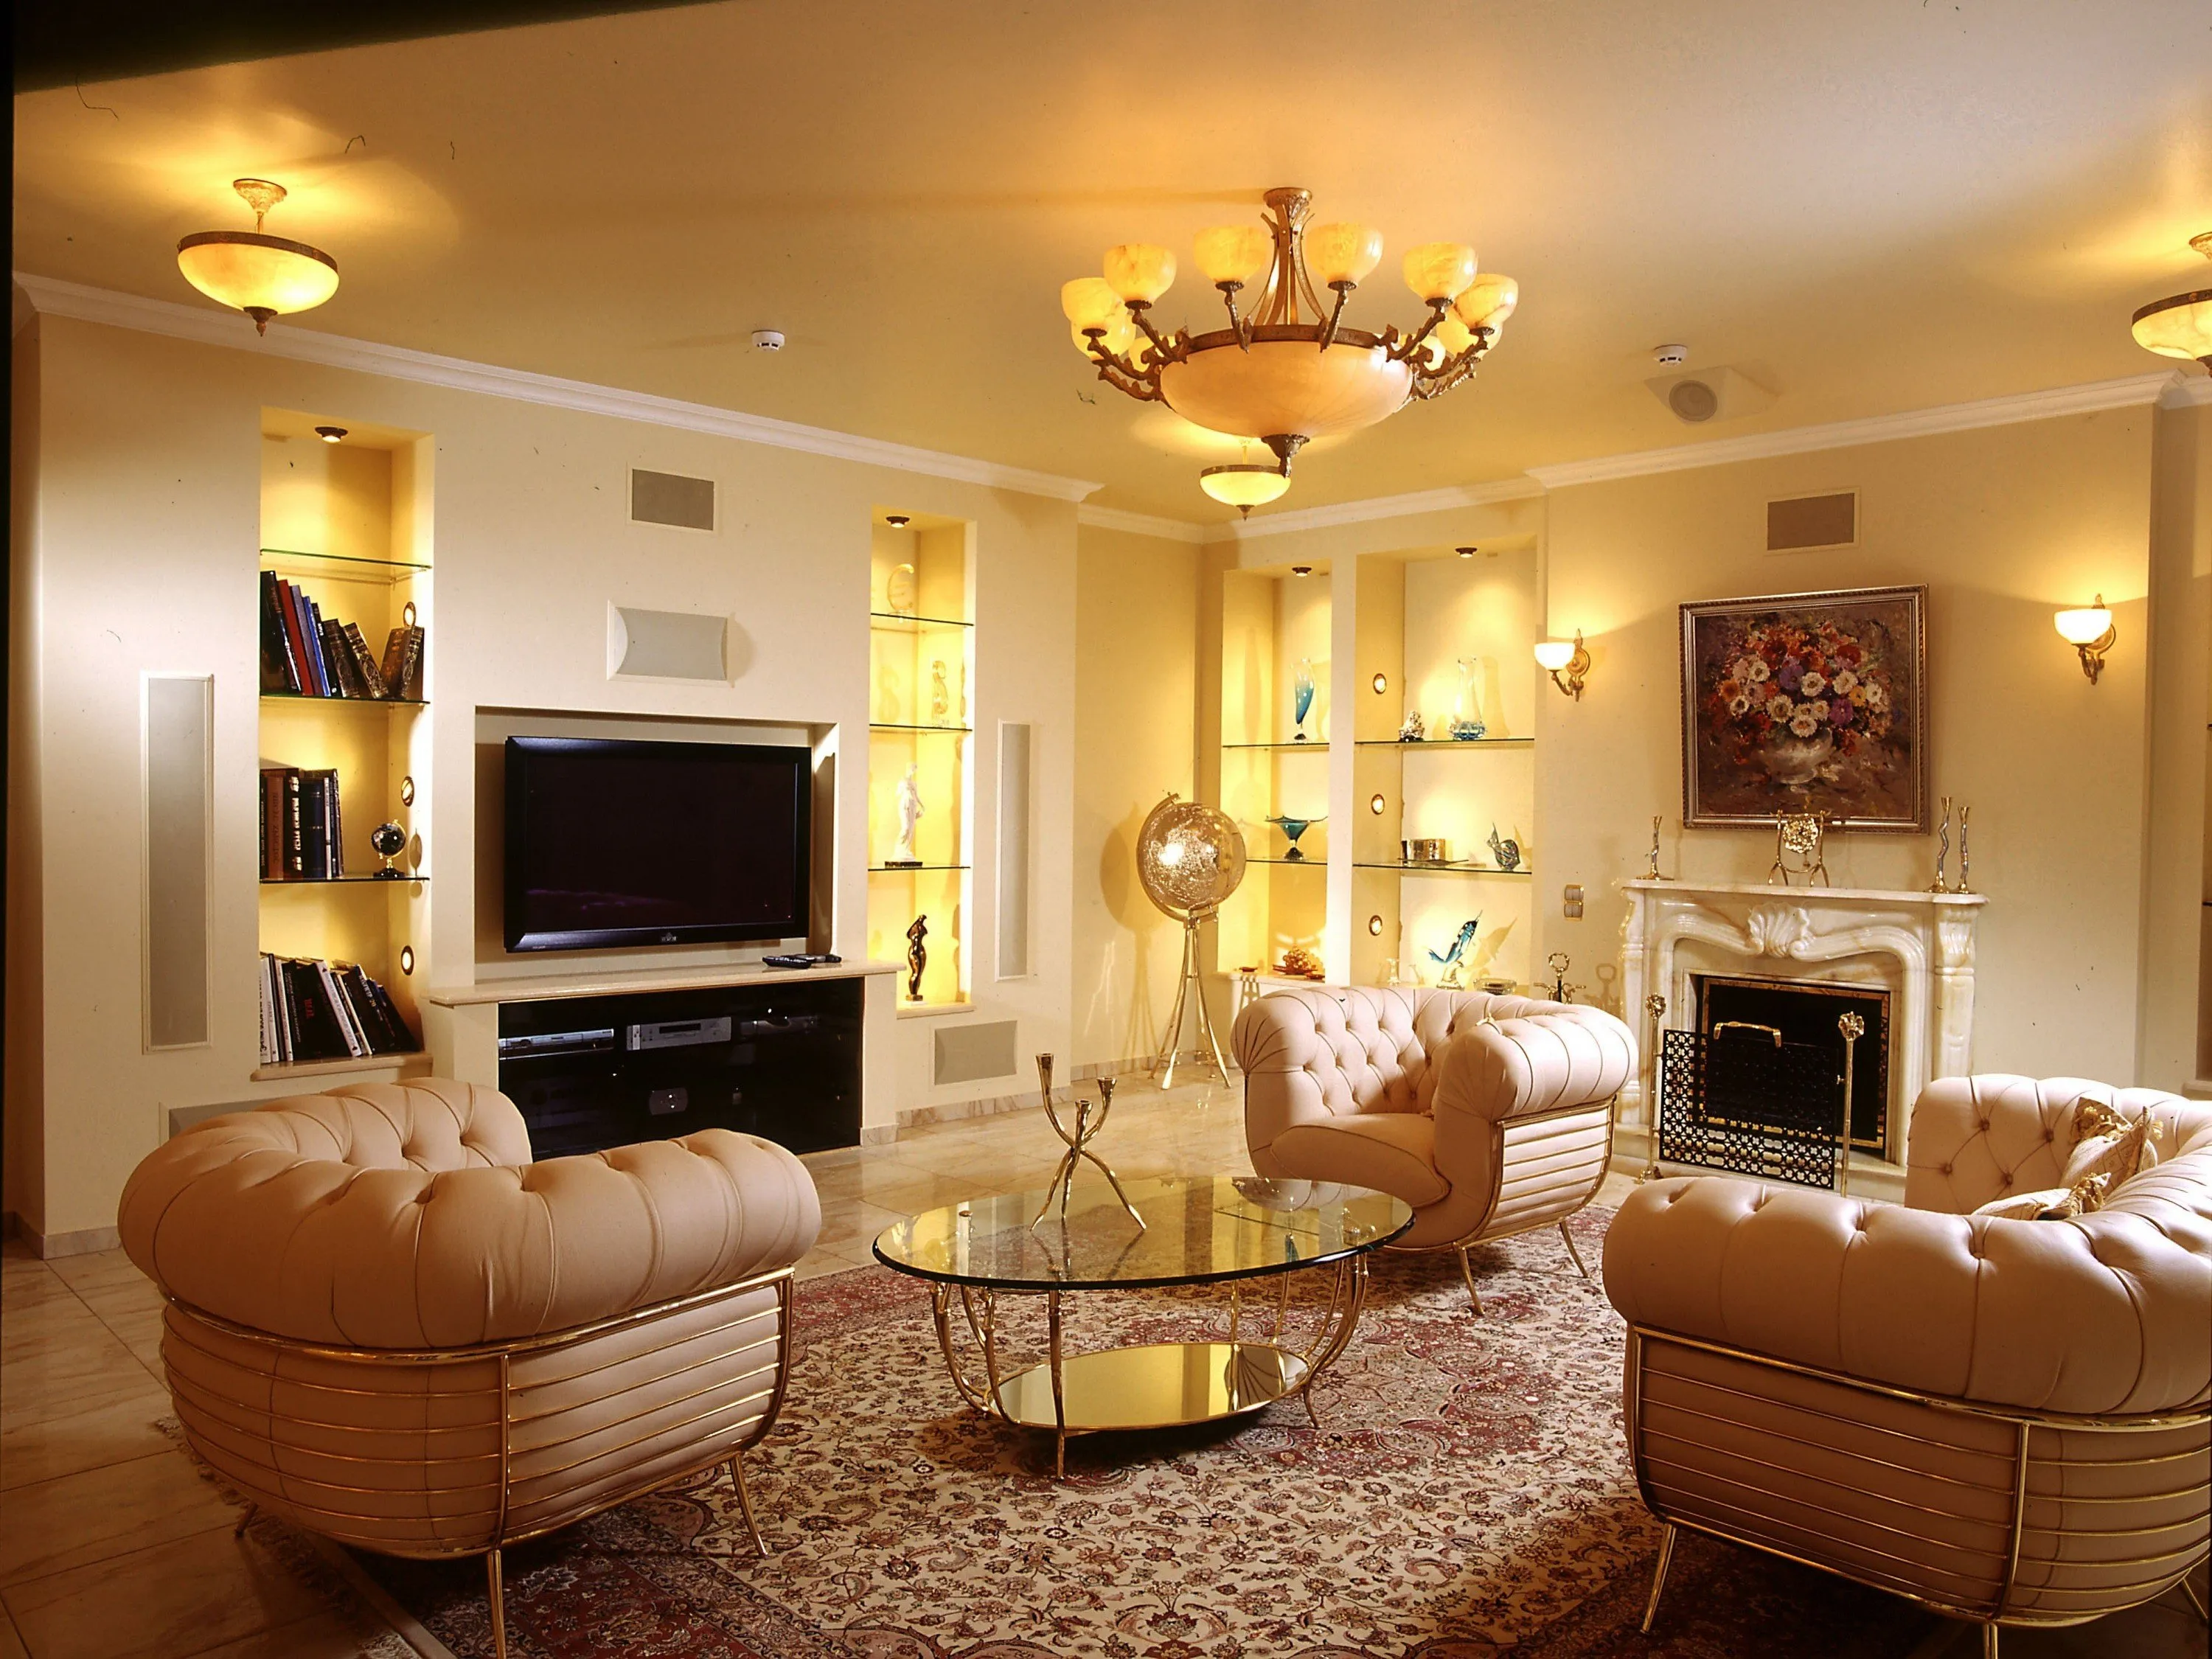
Luxury Living Room Furniture
High-end pieces spanning modern, neo-classical, and Italian Gothic styles — craftsmanship, leathers, and refined artistry.
Read More →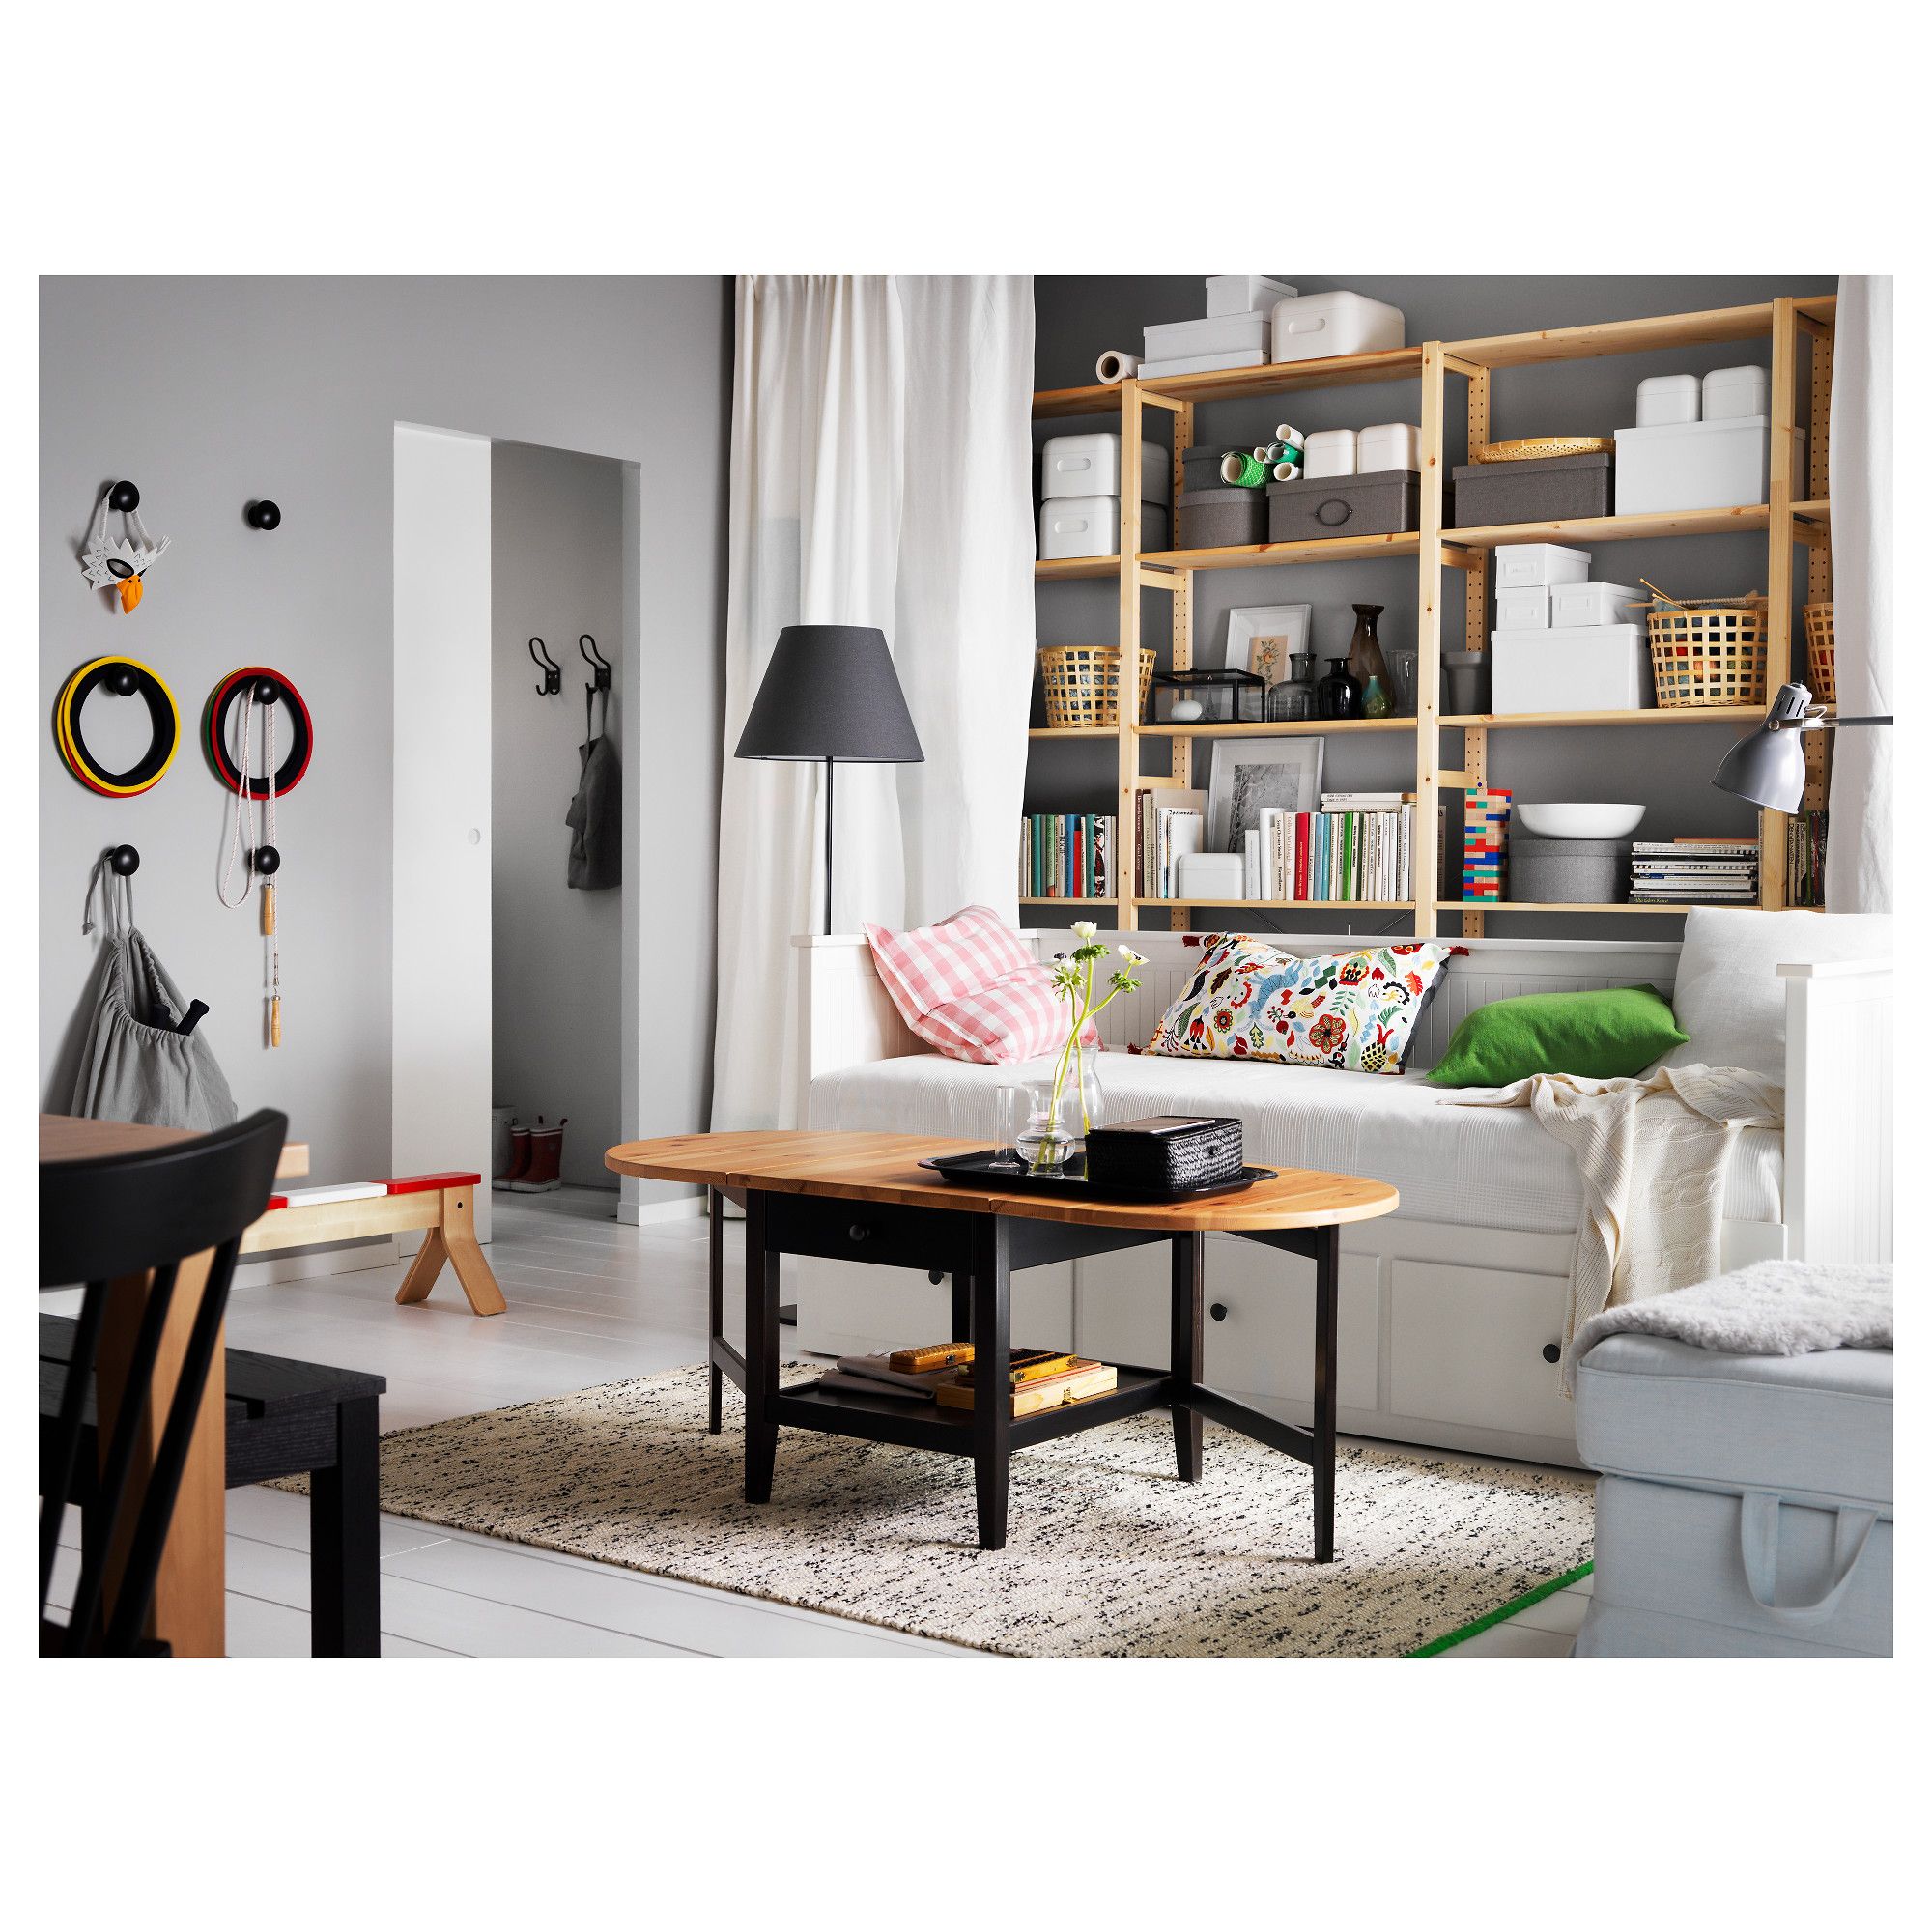
White Living Room Storage Cabinets
Sideboards, curio cabinets, and high-gloss storage units that blend practical organization with decorative appeal.
Read More →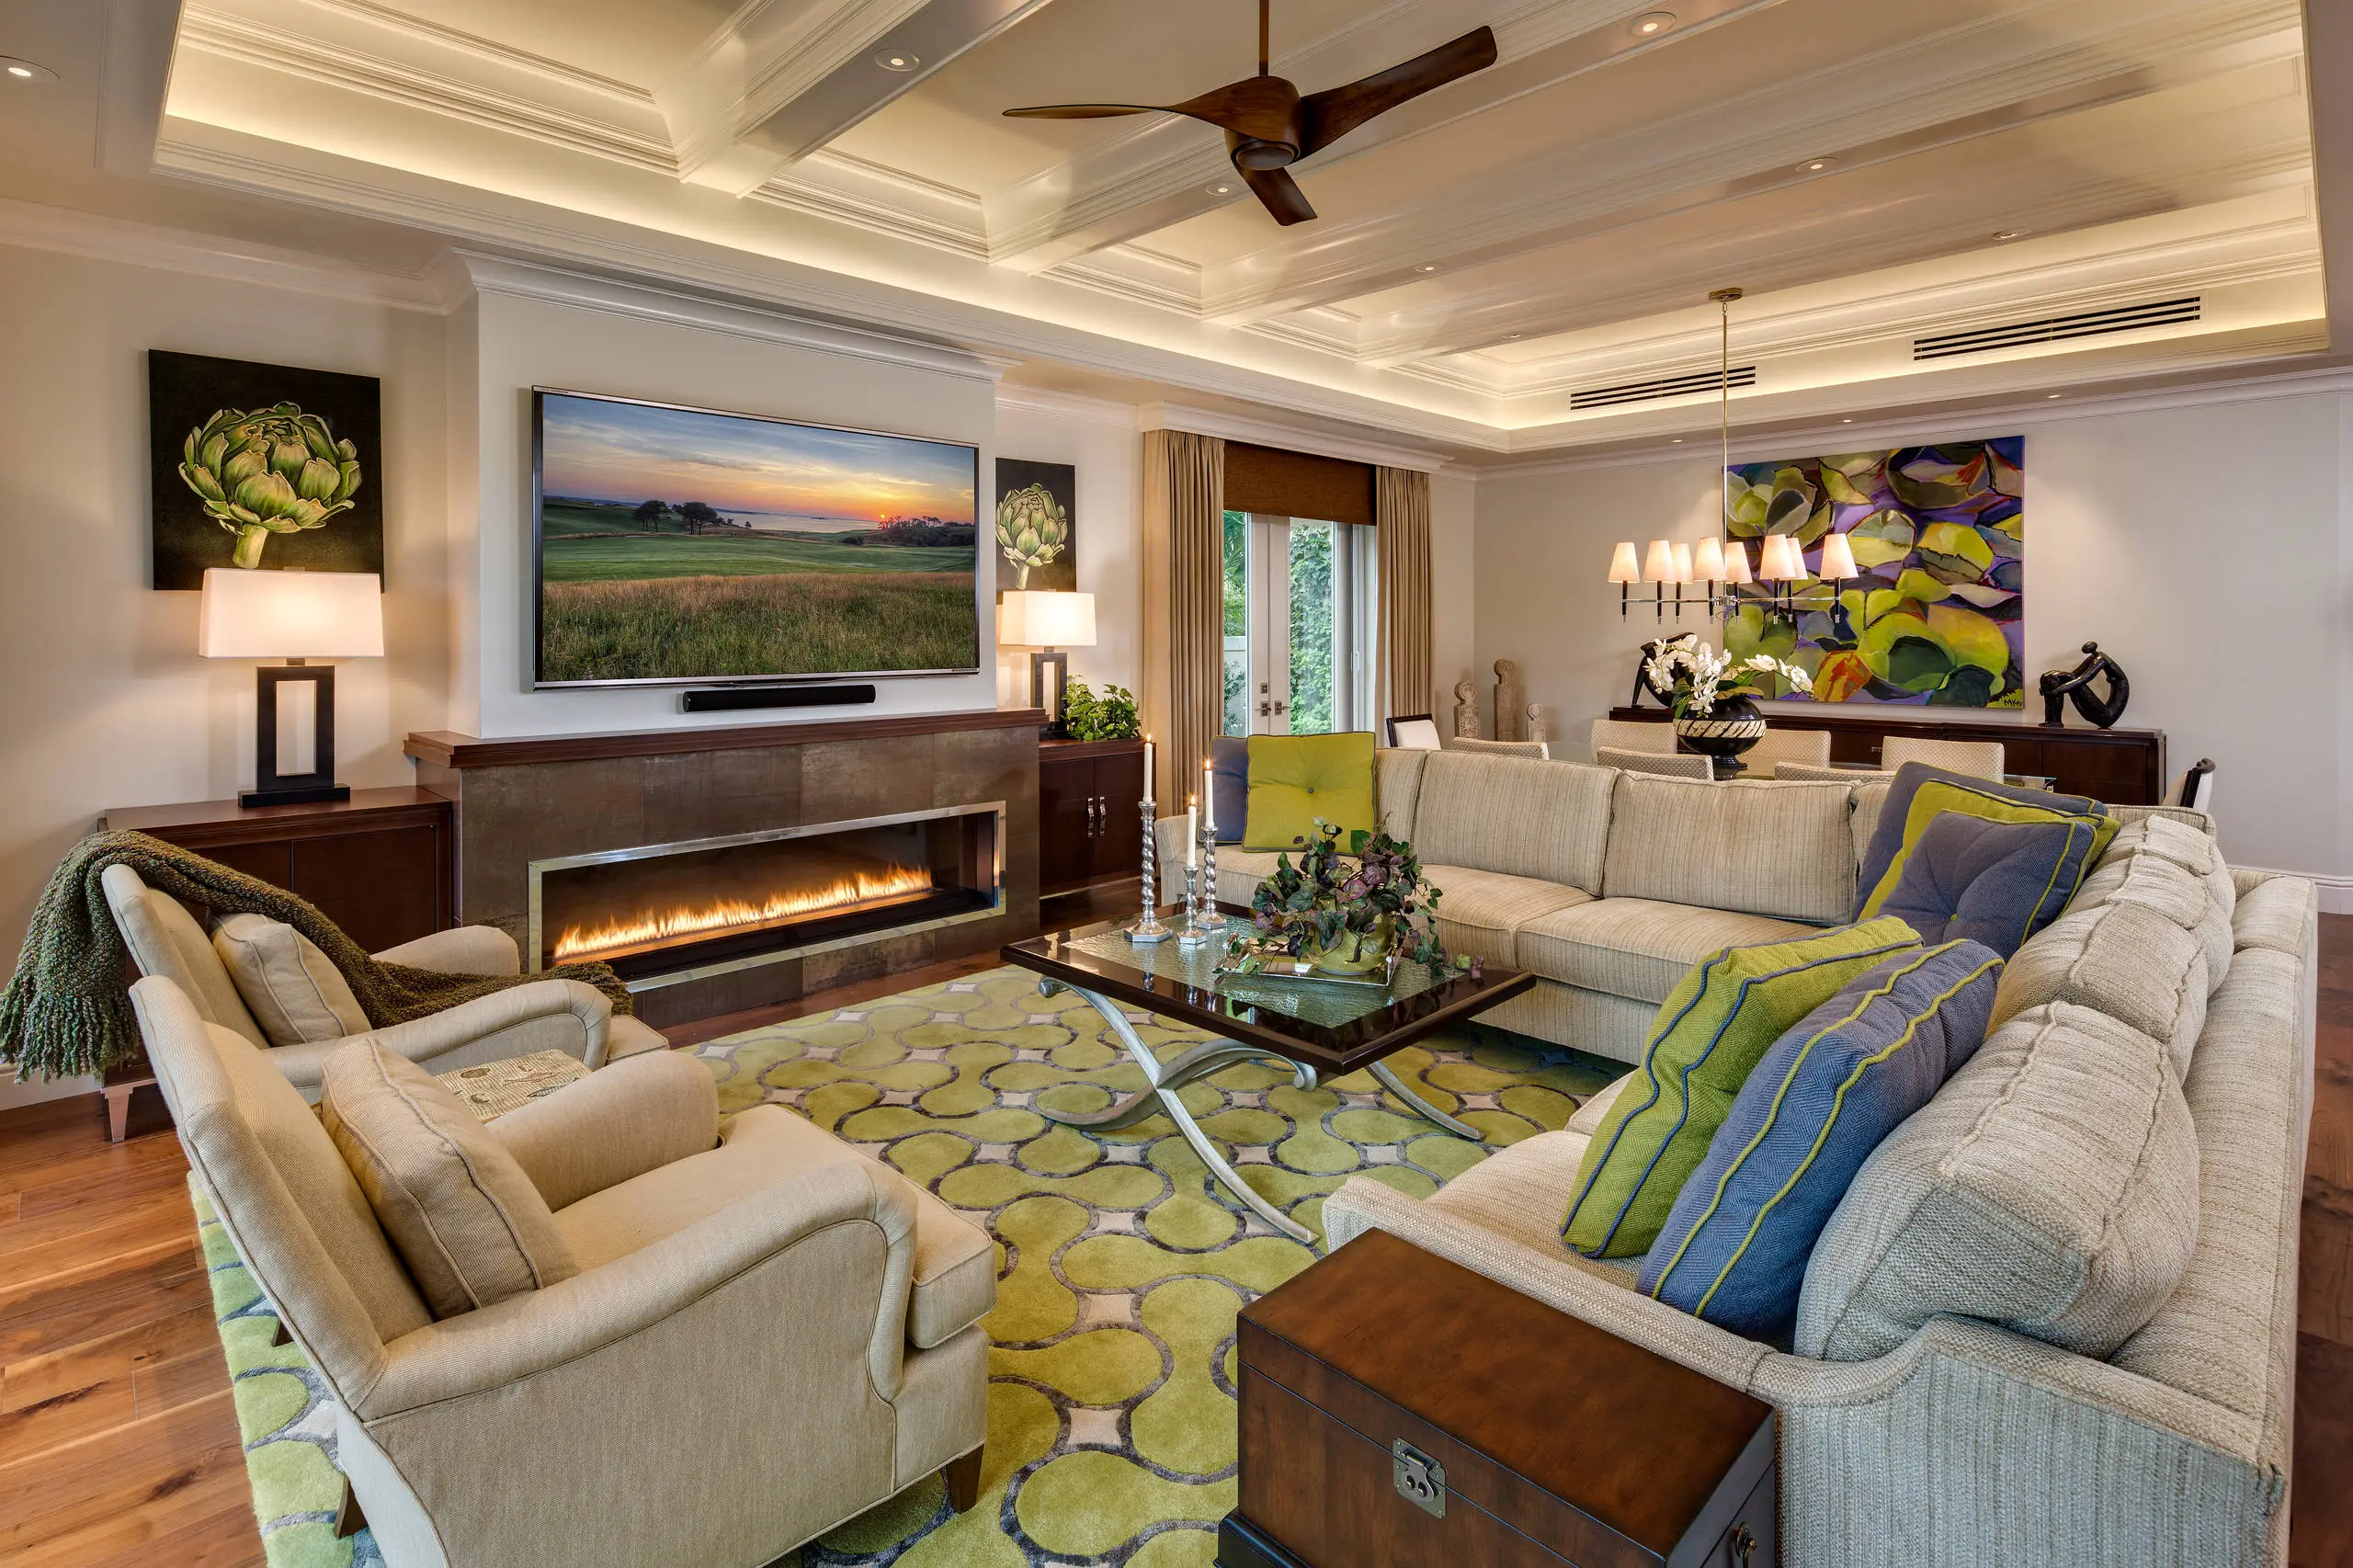
Living Room Decor Essentials
Rugs, pillows, art, lamps, and accent pieces that add layers of color, texture, and personality to any living space.
Read More →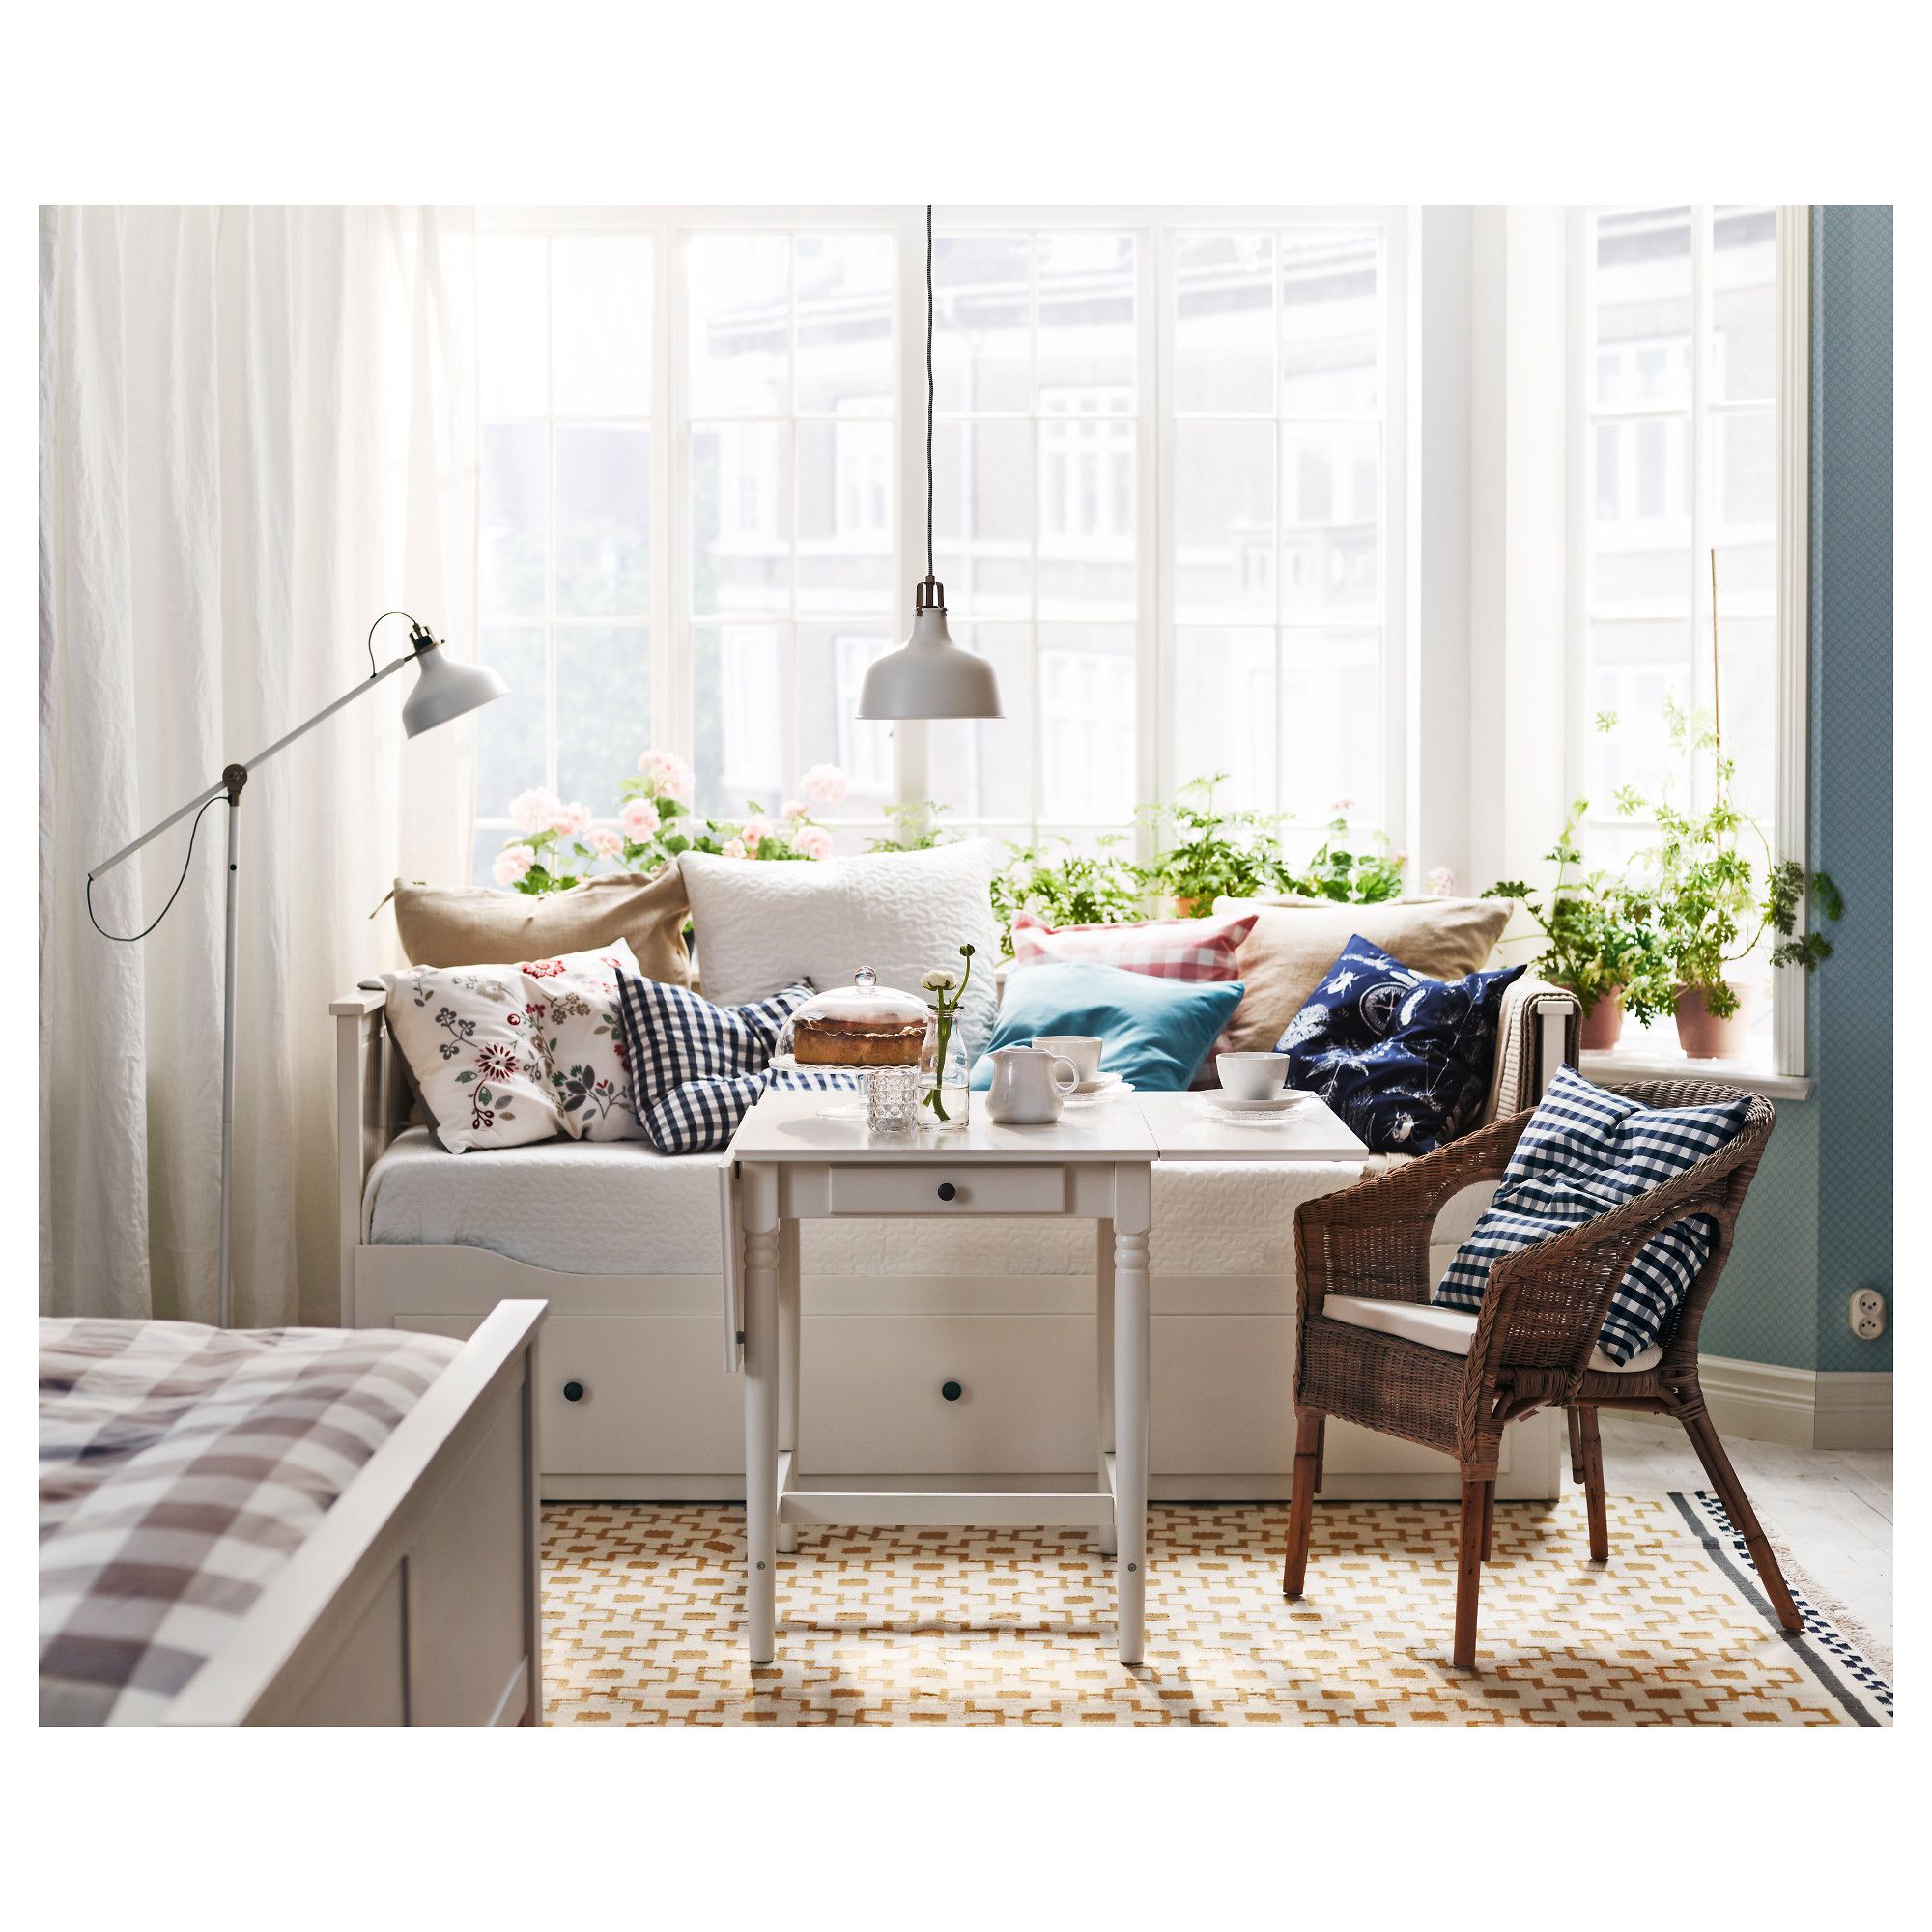
Natural Living Room Decor
Earthy elements, house plants, rustic touches, and organic materials that bring warmth and nature indoors.
Read More →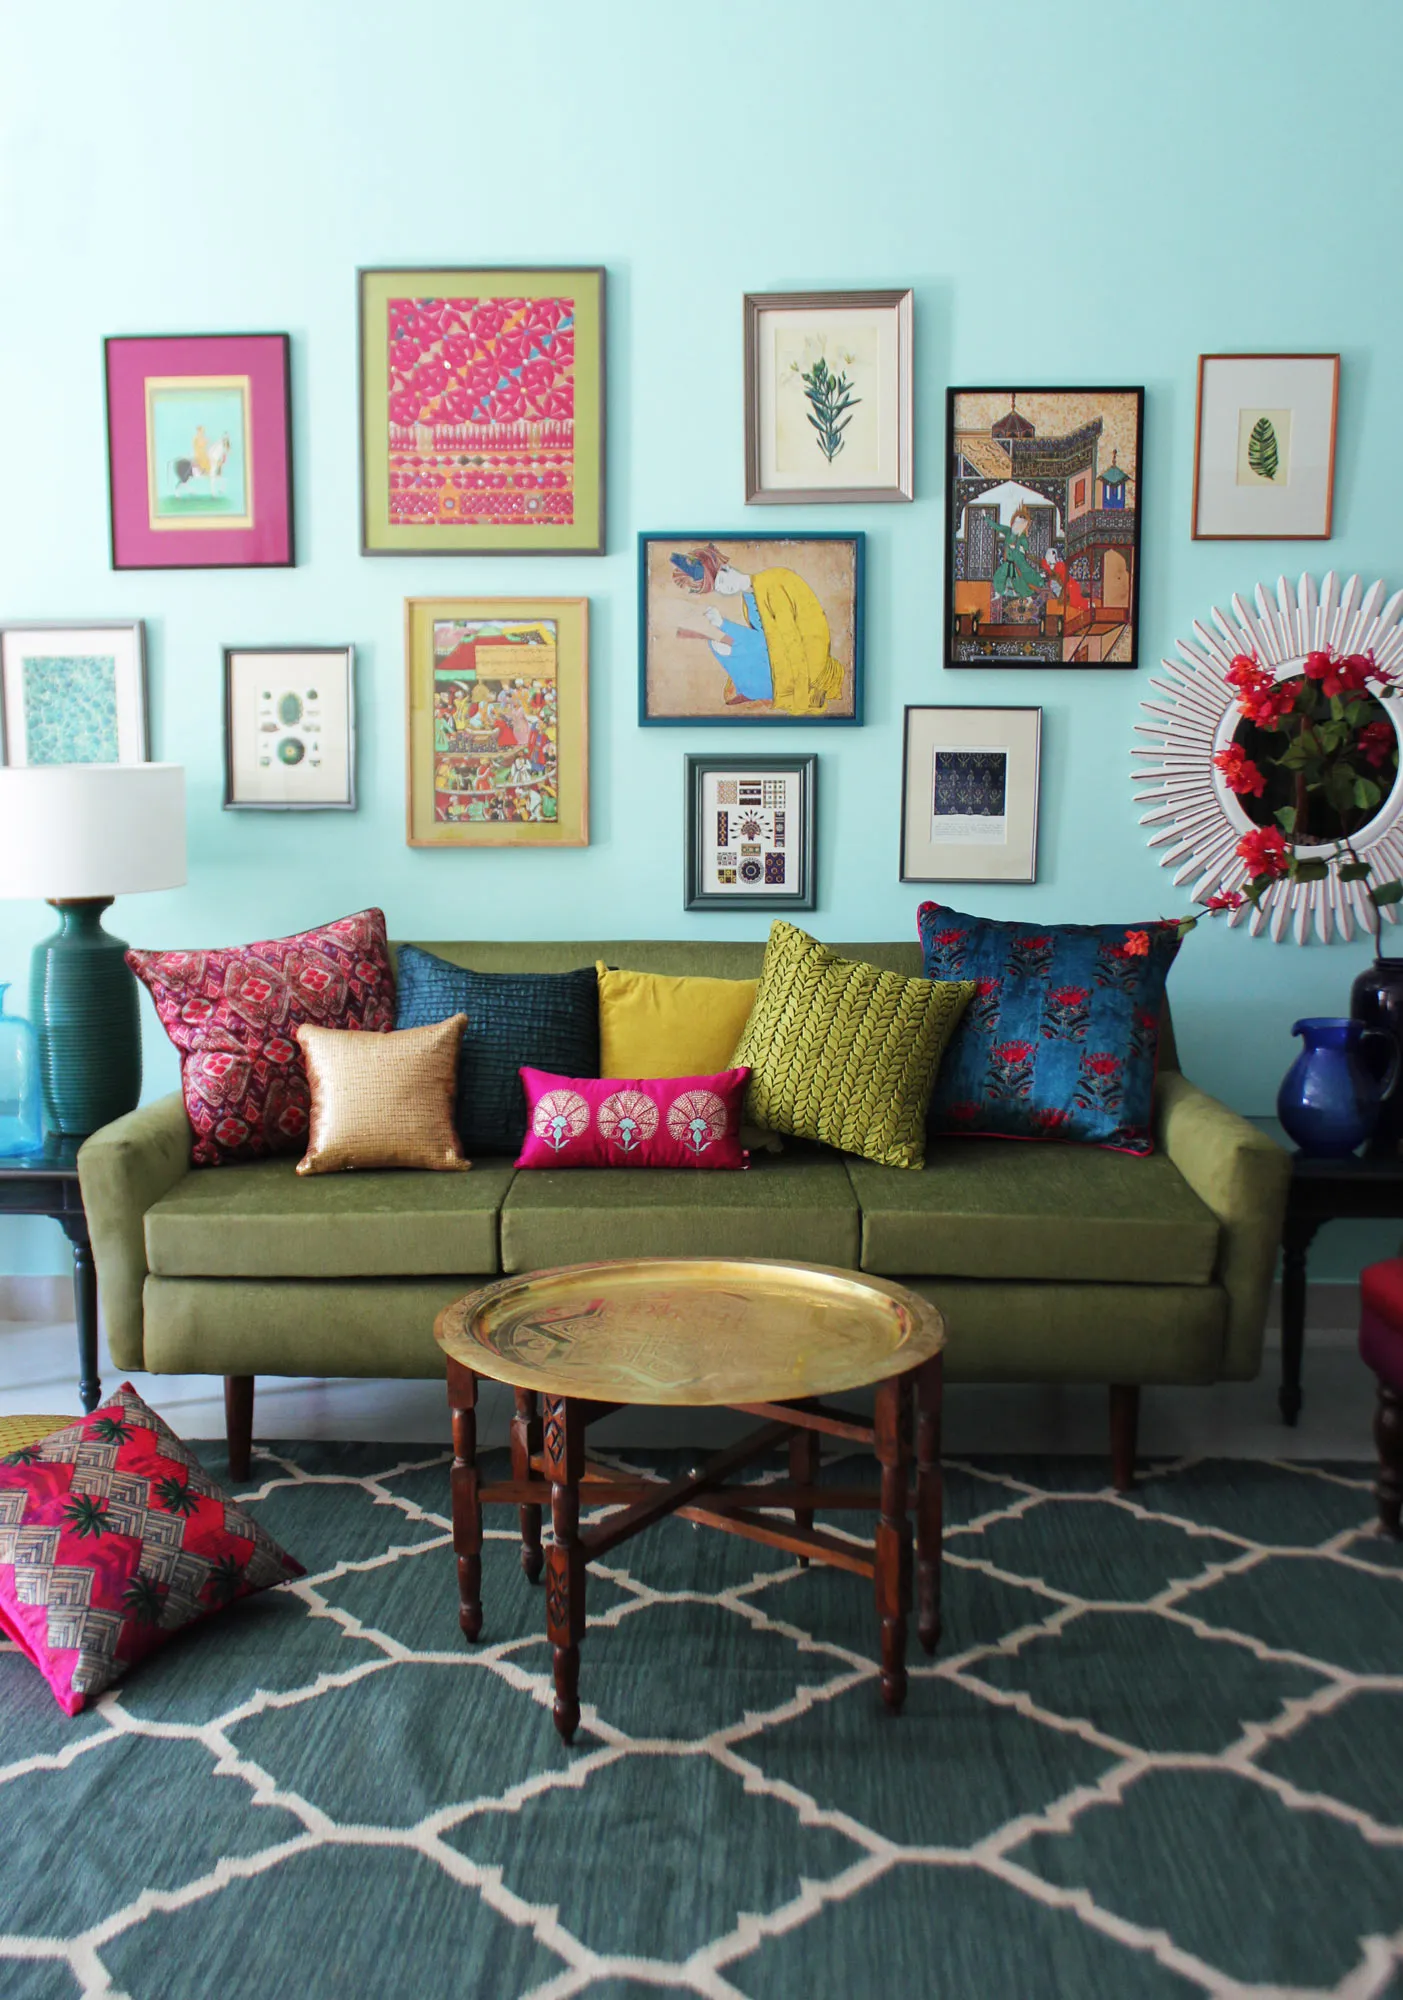
Living Room Ideas: Velvet Sofa
From classic red to trending green and blue, explore how a velvet sofa can transform your living room's character.
Read More →