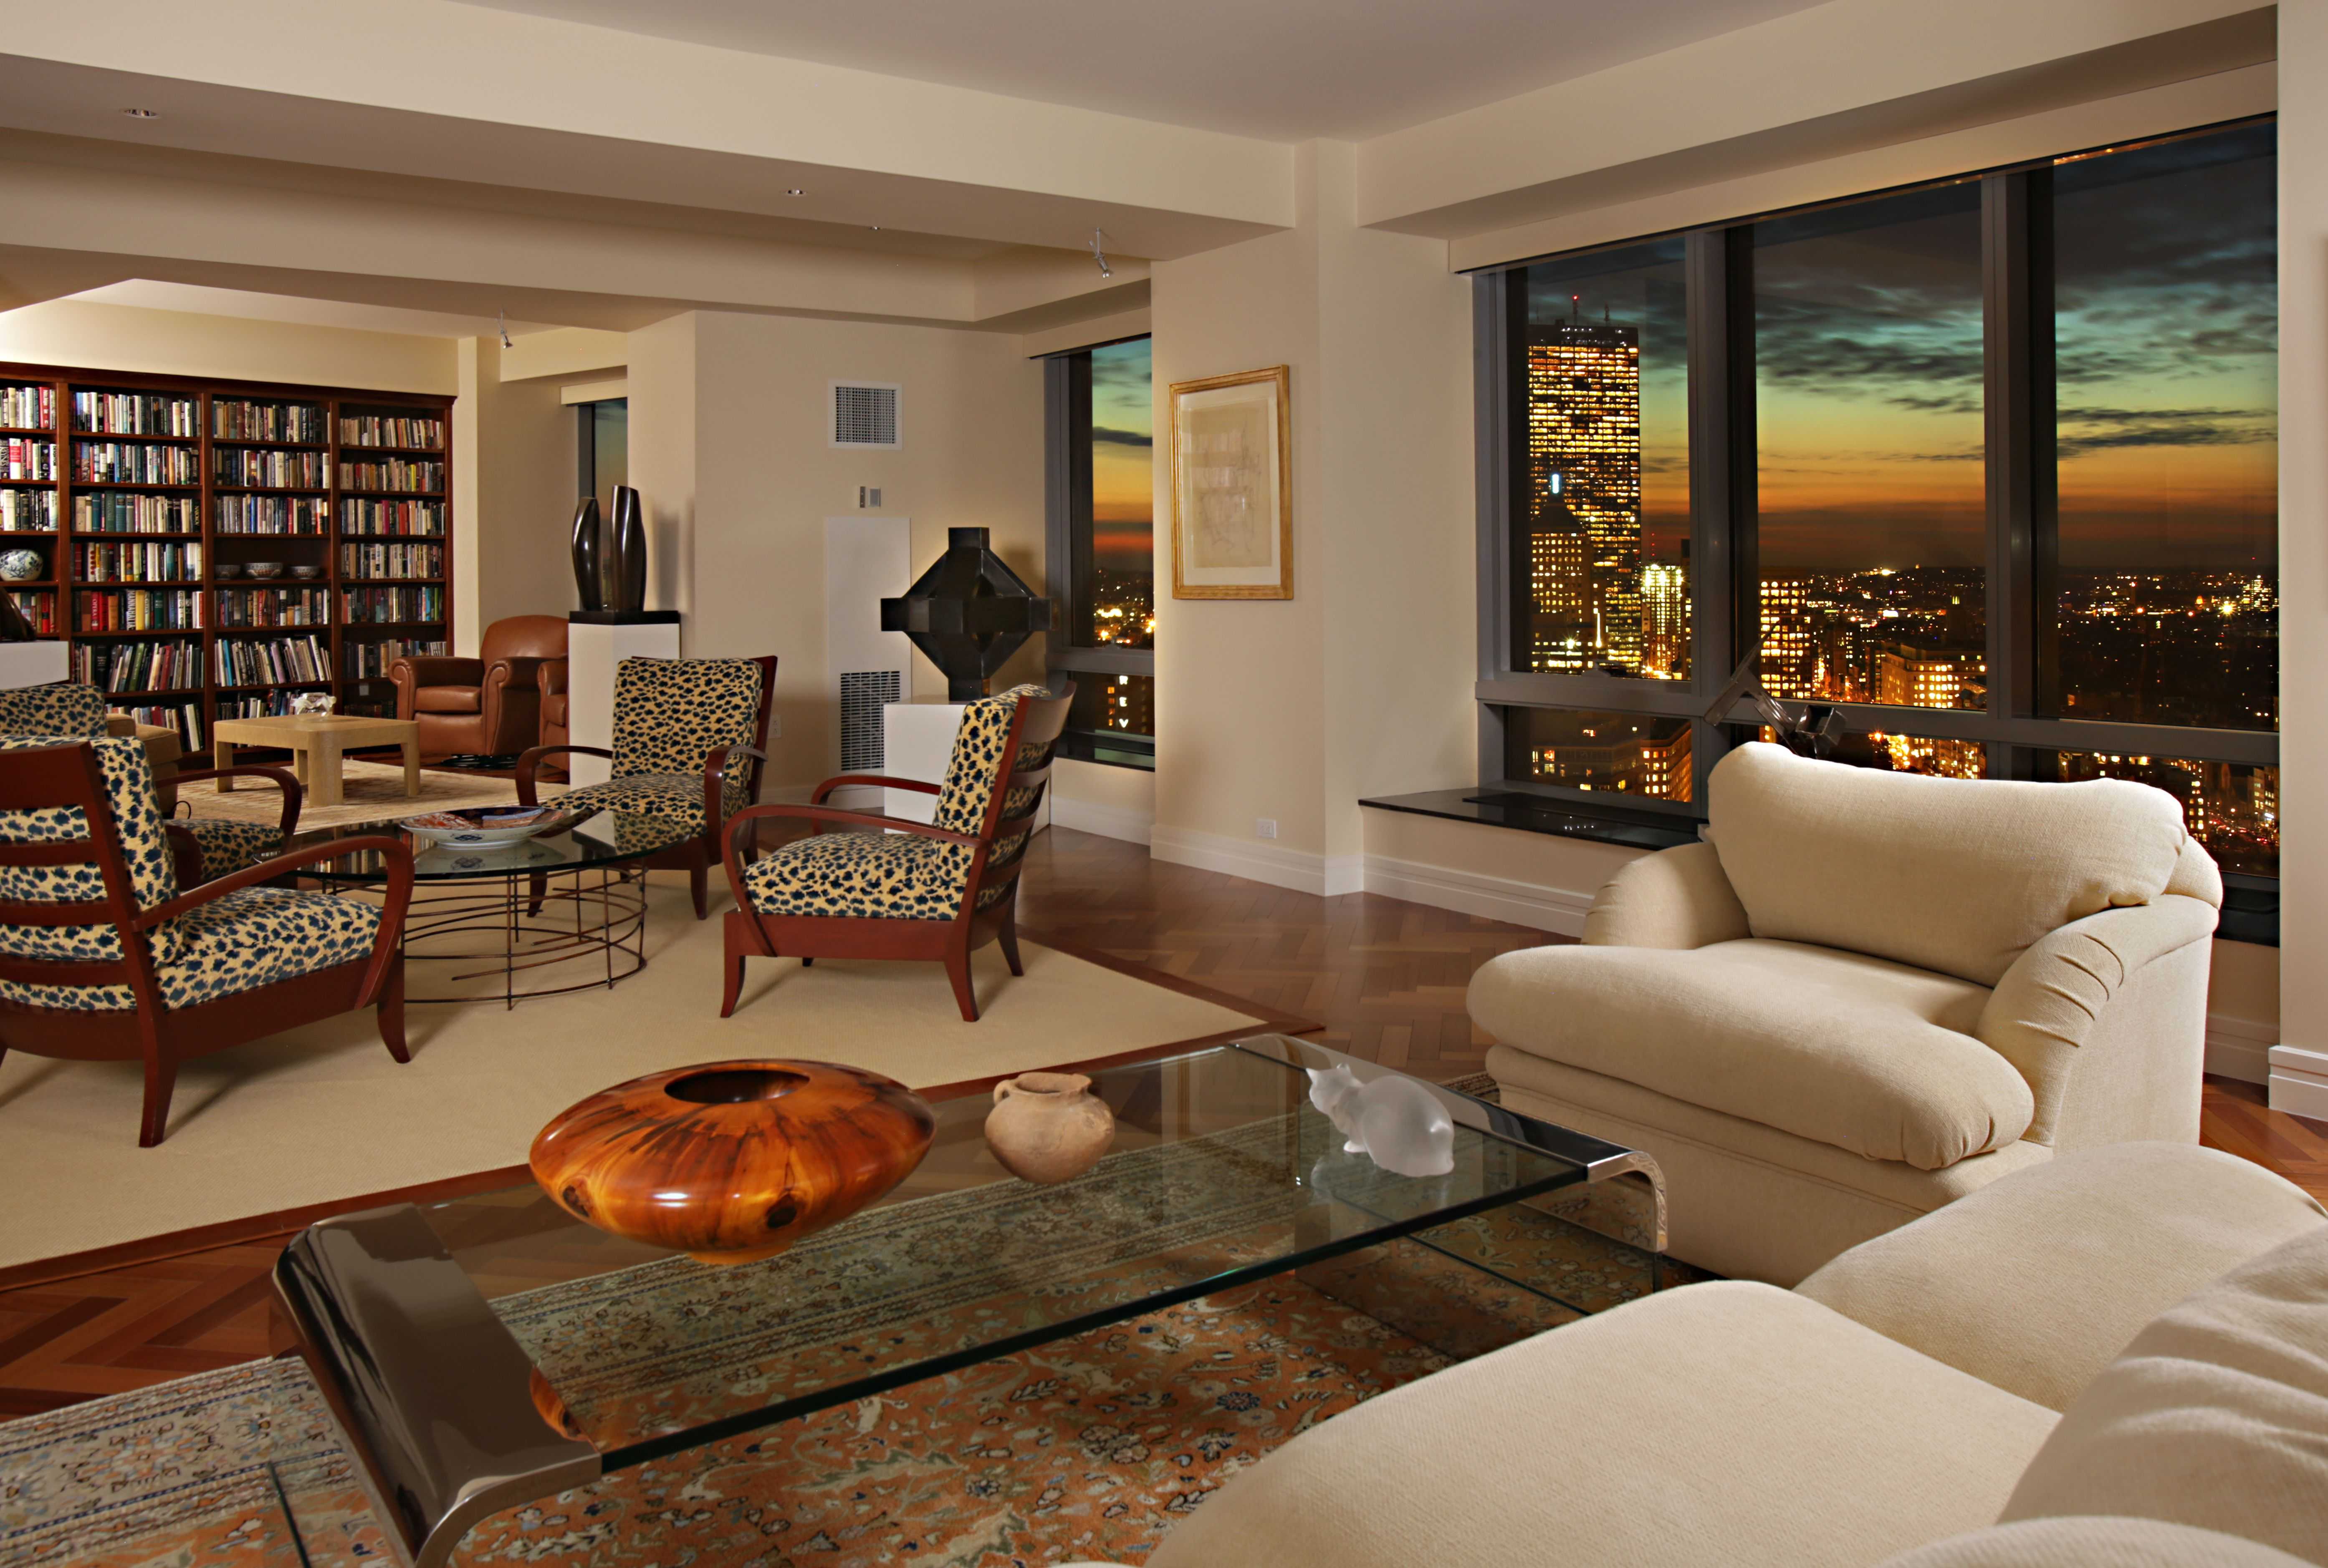
Living Room Design Ideas & Inspiration
Kumpulan Informasi, Tips dan Trik Terlengkap dan Terpercaya — explore curated ideas for sofas, storage, decor, and every style in between.
Explore Ideas →Get Design Inspiration
Tell us what you're looking for and we'll point you to the best articles.
DIY built-in bookshelves for a custom living room look
Built-in bookshelves can give a living room the tailored character of a custom renovation without requiring a full room remodel. They frame the television, create valuable storage, and turn an unused wall into a defining architectural feature. With careful planning, basic carpentry skills, and a thoughtful paint or stain choice, a simple shelving unit can look permanently connected to the home.
The best designs balance display space with concealed storage. Books, artwork, ceramics, and plants add personality, while cabinet doors and drawers keep everyday clutter out of sight. The result feels intentional rather than crowded, especially when the shelving follows the room’s existing proportions.
Before buying materials, study the wall, measure the furniture, and decide how the shelves should support your living room’s style. A modern space may suit smooth slab doors and a single-color finish, while a traditional room can accommodate trim, crown molding, and warm wood details.
Choose a style that suits the room
Start by deciding whether the shelves should blend into the wall or act as a feature. Painted built-ins in white, cream, olive, navy, or charcoal can make a strong visual statement while preserving a unified appearance. Matching the bookcase to the wall color creates a quieter effect and allows books and accessories to provide the contrast.
Open shelving gives the room an airy, decorative feel, but a combination of open and closed storage is usually more practical. Place display shelves around eye level and use lower cabinets for games, electronics, blankets, and paperwork. If the unit surrounds a television, closed storage can hide cables and devices that would otherwise interrupt the composition.
Consider the room’s width before adding heavy visual details. Horizontal elements, including long shelves and carefully placed accessories, can help a narrow space feel broader. A striped rug can reinforce that effect when its lines are arranged thoughtfully, as explained in this guide to widening a narrow room.
Plan proportions and wall placement
Measure the full wall from floor to ceiling, then record the position of skirting boards, outlets, switches, vents, windows, and door casings. Check the wall in several places because older homes may have uneven floors or surfaces. A laser level is useful, but a long spirit level and a straightedge can also produce reliable results.
Leave enough clearance for seating and movement. A deep bookcase can make a passage feel tight, while shelves that are too shallow may fail to hold larger books or decorative objects. A depth of approximately 10 to 14 inches works for many living room displays, although lower cabinets may need additional depth for media equipment.
Draw the design on graph paper or create a simple digital elevation. Mark each shelf height, cabinet opening, and trim line. This step reveals awkward gaps before construction begins and helps you calculate how many plywood panels, boards, and moldings are required.
Gather materials and tools
The materials will depend on the size and finish of the project. Paint-grade plywood is a versatile choice for cabinet boxes, while medium-density fiberboard works well for smooth painted face frames and trim. Solid timber is useful for shelf edges, cleats, and visible details that need extra durability.
| Project element | Common material | Practical note |
|---|---|---|
| Cabinet boxes | Plywood or MDF | Use thicker panels for wide spans |
| Fixed shelves | Plywood with hardwood edging | Add support beneath long shelves |
| Face frames | Timber or MDF | Keep the lines consistent |
| Back panels | Thin plywood or painted wall | A back panel creates a finished look |
| Trim | MDF, timber, or decorative molding | Match existing room details |
| Finish | Primer, interior paint, or stain | Sand between coats for a smoother result |
You will also need a tape measure, level, stud finder, drill, screws, brad nailer, circular saw or track saw, clamps, wood filler, caulk, sandpaper, and painting supplies. Use a dust mask and eye protection when cutting sheet materials, and keep the work area clear around power tools.
For a built-in appearance, plan to anchor the shelving to wall studs. Freestanding bookcases can tip when loaded, particularly in homes with children or pets. Secure each major section before adding shelves, doors, or decorative trim.
Build the carcasses and shelves
Begin with a level base. A simple platform made from timber strips can compensate for an uneven floor and gives the cabinet boxes a consistent starting point. Check the platform from side to side and front to back before fixing it in place.
Construct the vertical cabinet boxes or open shelving frames separately where possible. This makes the pieces easier to move and allows you to adjust them before they are permanently attached. Screw the frames into wall studs, then connect neighboring sections so the entire unit behaves as one stable structure.
Long shelves need careful support to prevent sagging. Add a vertical divider, a concealed cleat, or a hardwood front edge when a shelf spans a wide opening. Adjustable shelves are convenient, but fixed shelves often create a more architectural appearance and can be positioned to suit specific objects.
If the unit includes a television, leave ventilation space around the equipment and create a discreet route for cables. Install access holes before the boxes are secured. A removable rear panel or interior cable channel will make future changes much easier.
Add trim, color, and character
Trim is what often separates a basic shelving project from a convincing built-in. Use filler strips along the sides to close uneven gaps, then add a face frame across the front edges. Crown molding can connect the unit to the ceiling, while a substantial baseboard helps it appear rooted in the wall.
Fill screw holes and nail marks, sand all visible surfaces, and run a fine bead of caulk along joints. Caulk hides small irregularities between trim and wall surfaces, but it cannot correct major measurement errors. Take time with preparation because imperfections become more visible after paint is applied.
Choose a finish that supports the living room’s palette. Deep green or blue can make a large wall feel intimate, while warm white keeps a compact room bright. Soft taupe, clay, and muted gray provide a flexible background for changing artwork and seasonal accessories. If you prefer natural texture, stain the shelves and paint the cabinet bodies for a layered material effect.
Style the finished unit with varied heights and negative space. Group a few books horizontally, lean art against the back panel, and repeat two or three colors across the shelves. Leave some areas empty so the room feels curated rather than overloaded.
Recommendations for a successful project
A thoughtful sequence keeps the work manageable and protects the final result. Prioritize structure first, then appearance, and make design decisions that support how the living room is actually used.
- Measure the wall and furniture twice before cutting any panel.
- Use wall studs, a level base, and strong fixings for every major section.
- Combine open shelving with closed cabinets to balance display and storage.
- Test paint colors on large sample boards under both daylight and evening lighting.
- Leave breathing room around books, artwork, speakers, and decorative objects.
A modular approach is helpful if you are new to carpentry. Start with stock bookcases or ready-made cabinet boxes, secure them together, and add a custom plinth, face frame, side panels, and crown molding. This method reduces cutting while still creating a personalized wall unit.
Keep future maintenance in mind as well. Durable interior paint can be wiped clean, removable shelves simplify reorganizing, and labeled cable routes prevent frustration when electronics change. A design that remains easy to use will continue to look polished long after the construction is finished.
Built-in shelving can become the visual anchor of a living room, adding storage and architectural depth at the same time. Sketch the wall, gather the right materials, and work in measured stages so every shelf, cabinet, and trim piece contributes to a cohesive result. Once the structure is complete, style it slowly with objects that reflect your home and leave enough open space for the design to breathe.
What We Cover
Living Room Topics & Ideas
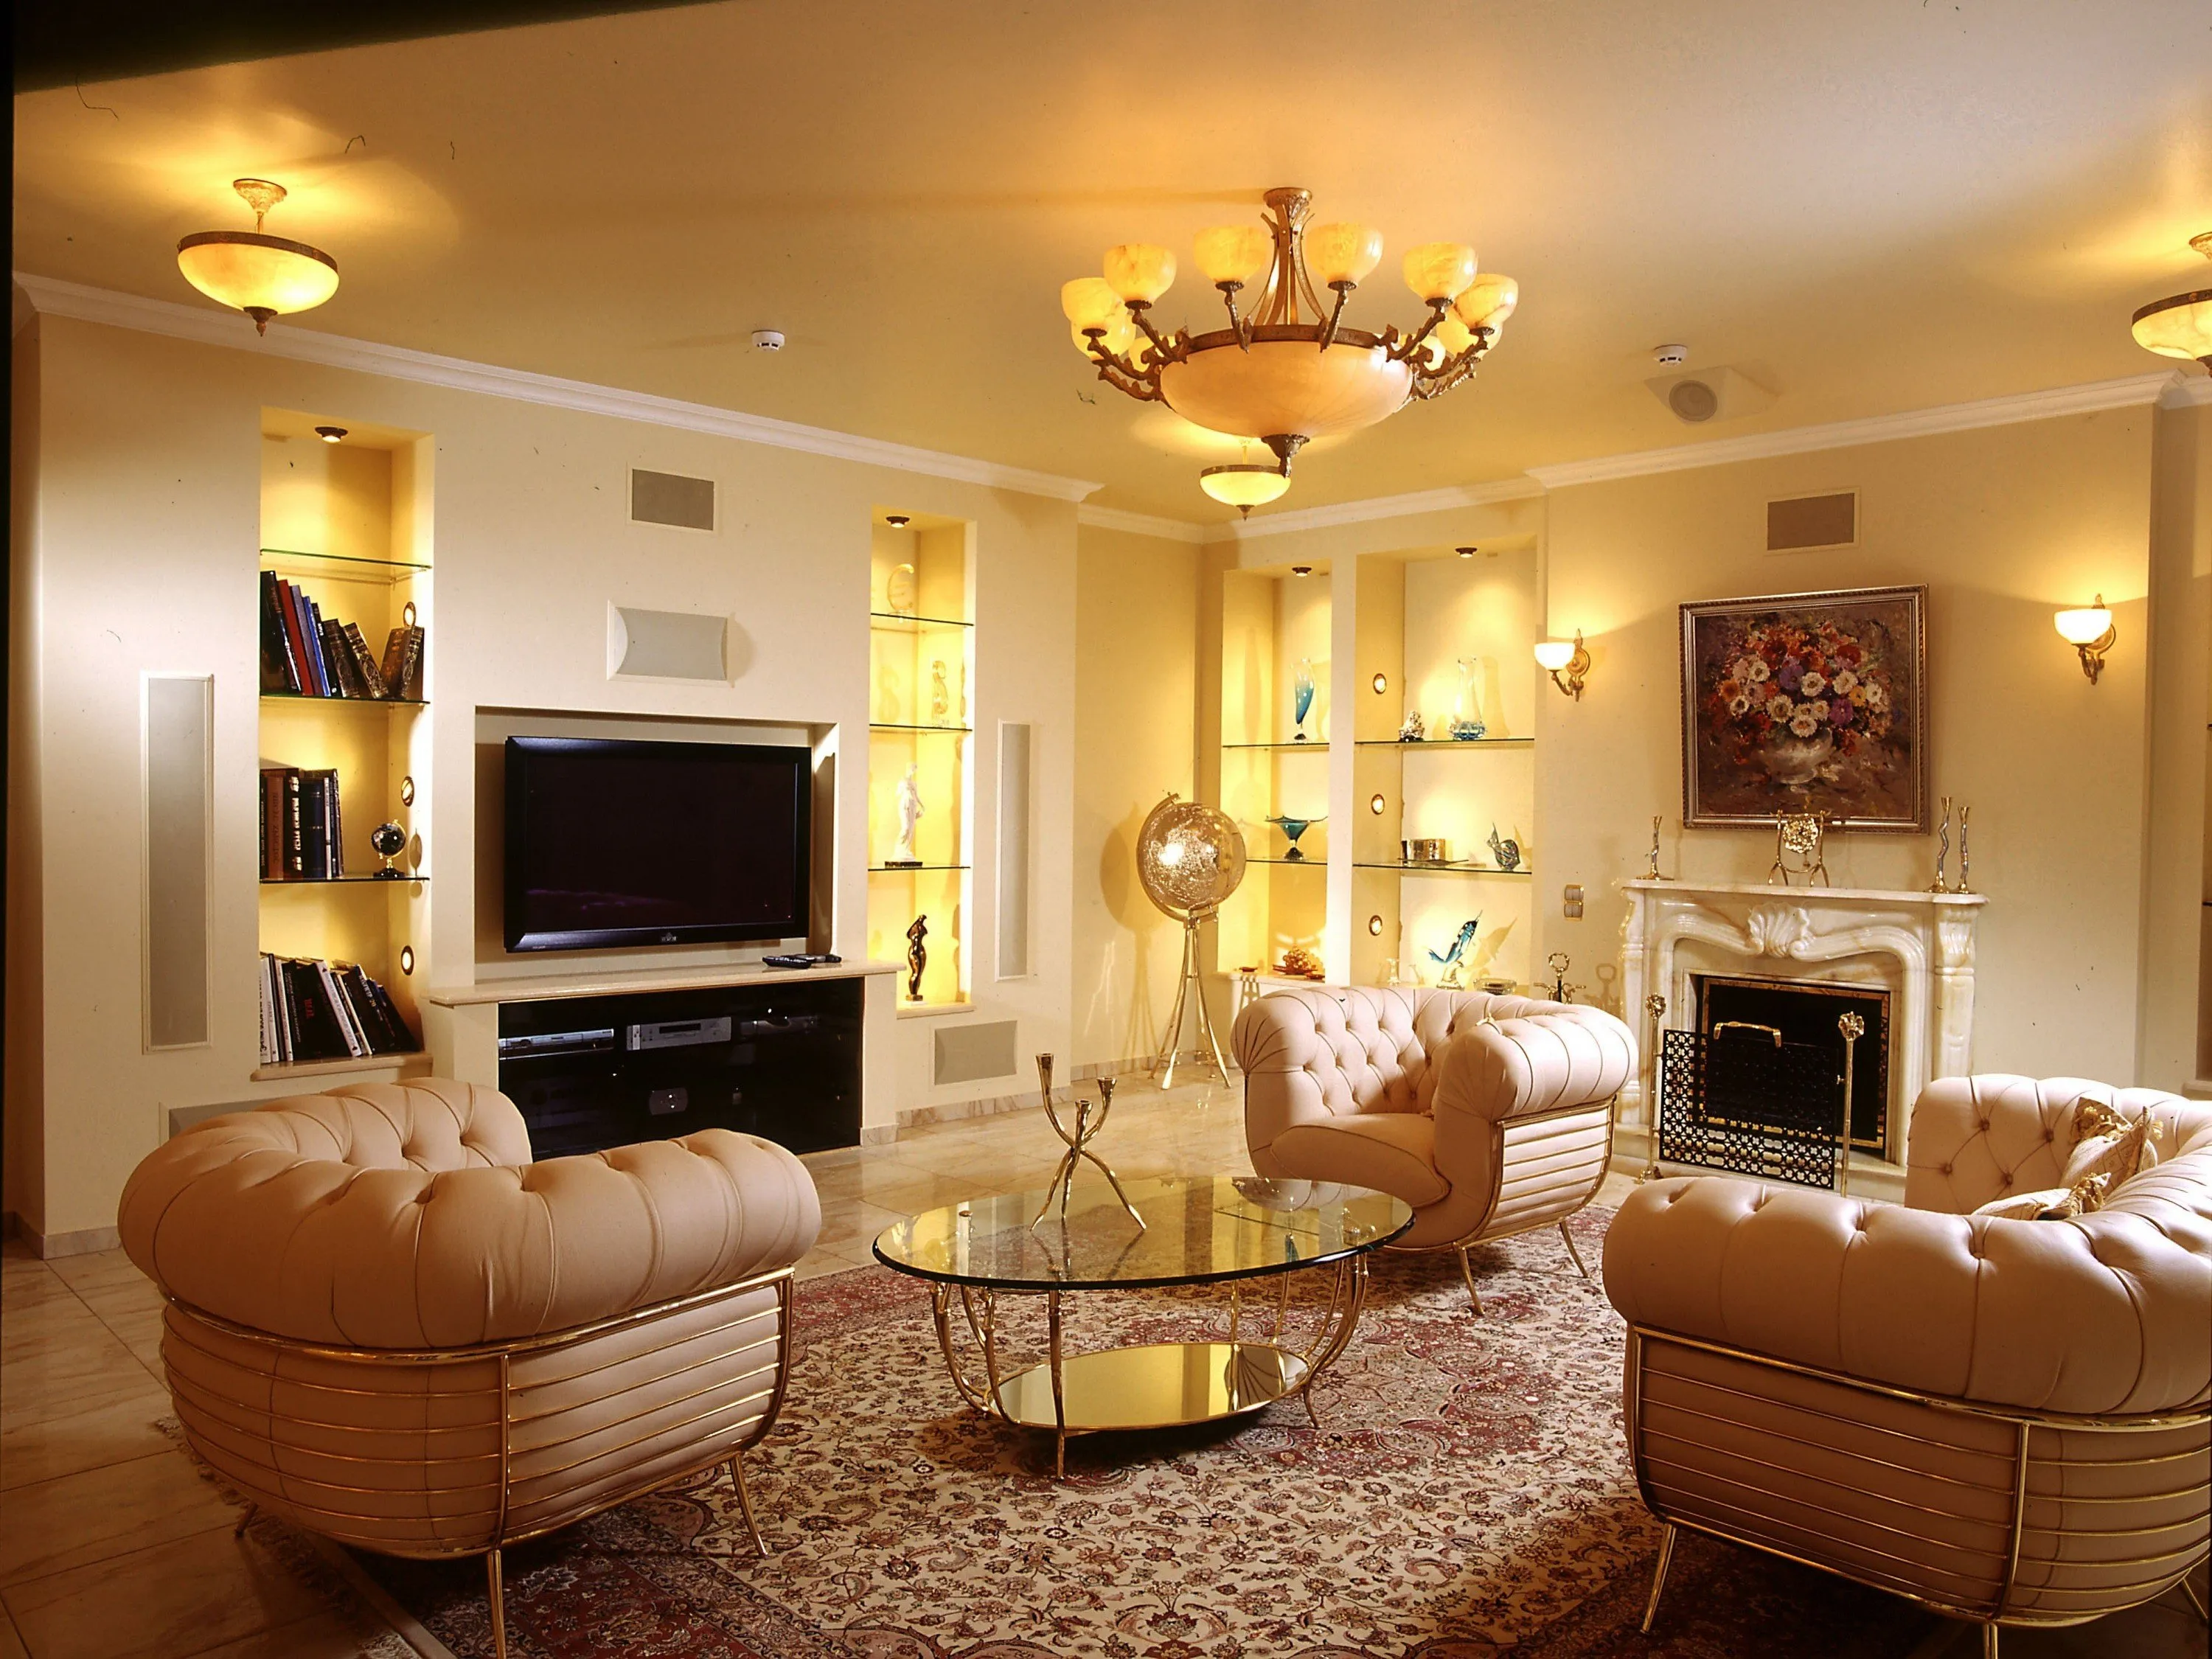
Luxury Living Room Furniture
High-end pieces spanning modern, neo-classical, and Italian Gothic styles — craftsmanship, leathers, and refined artistry.
Read More →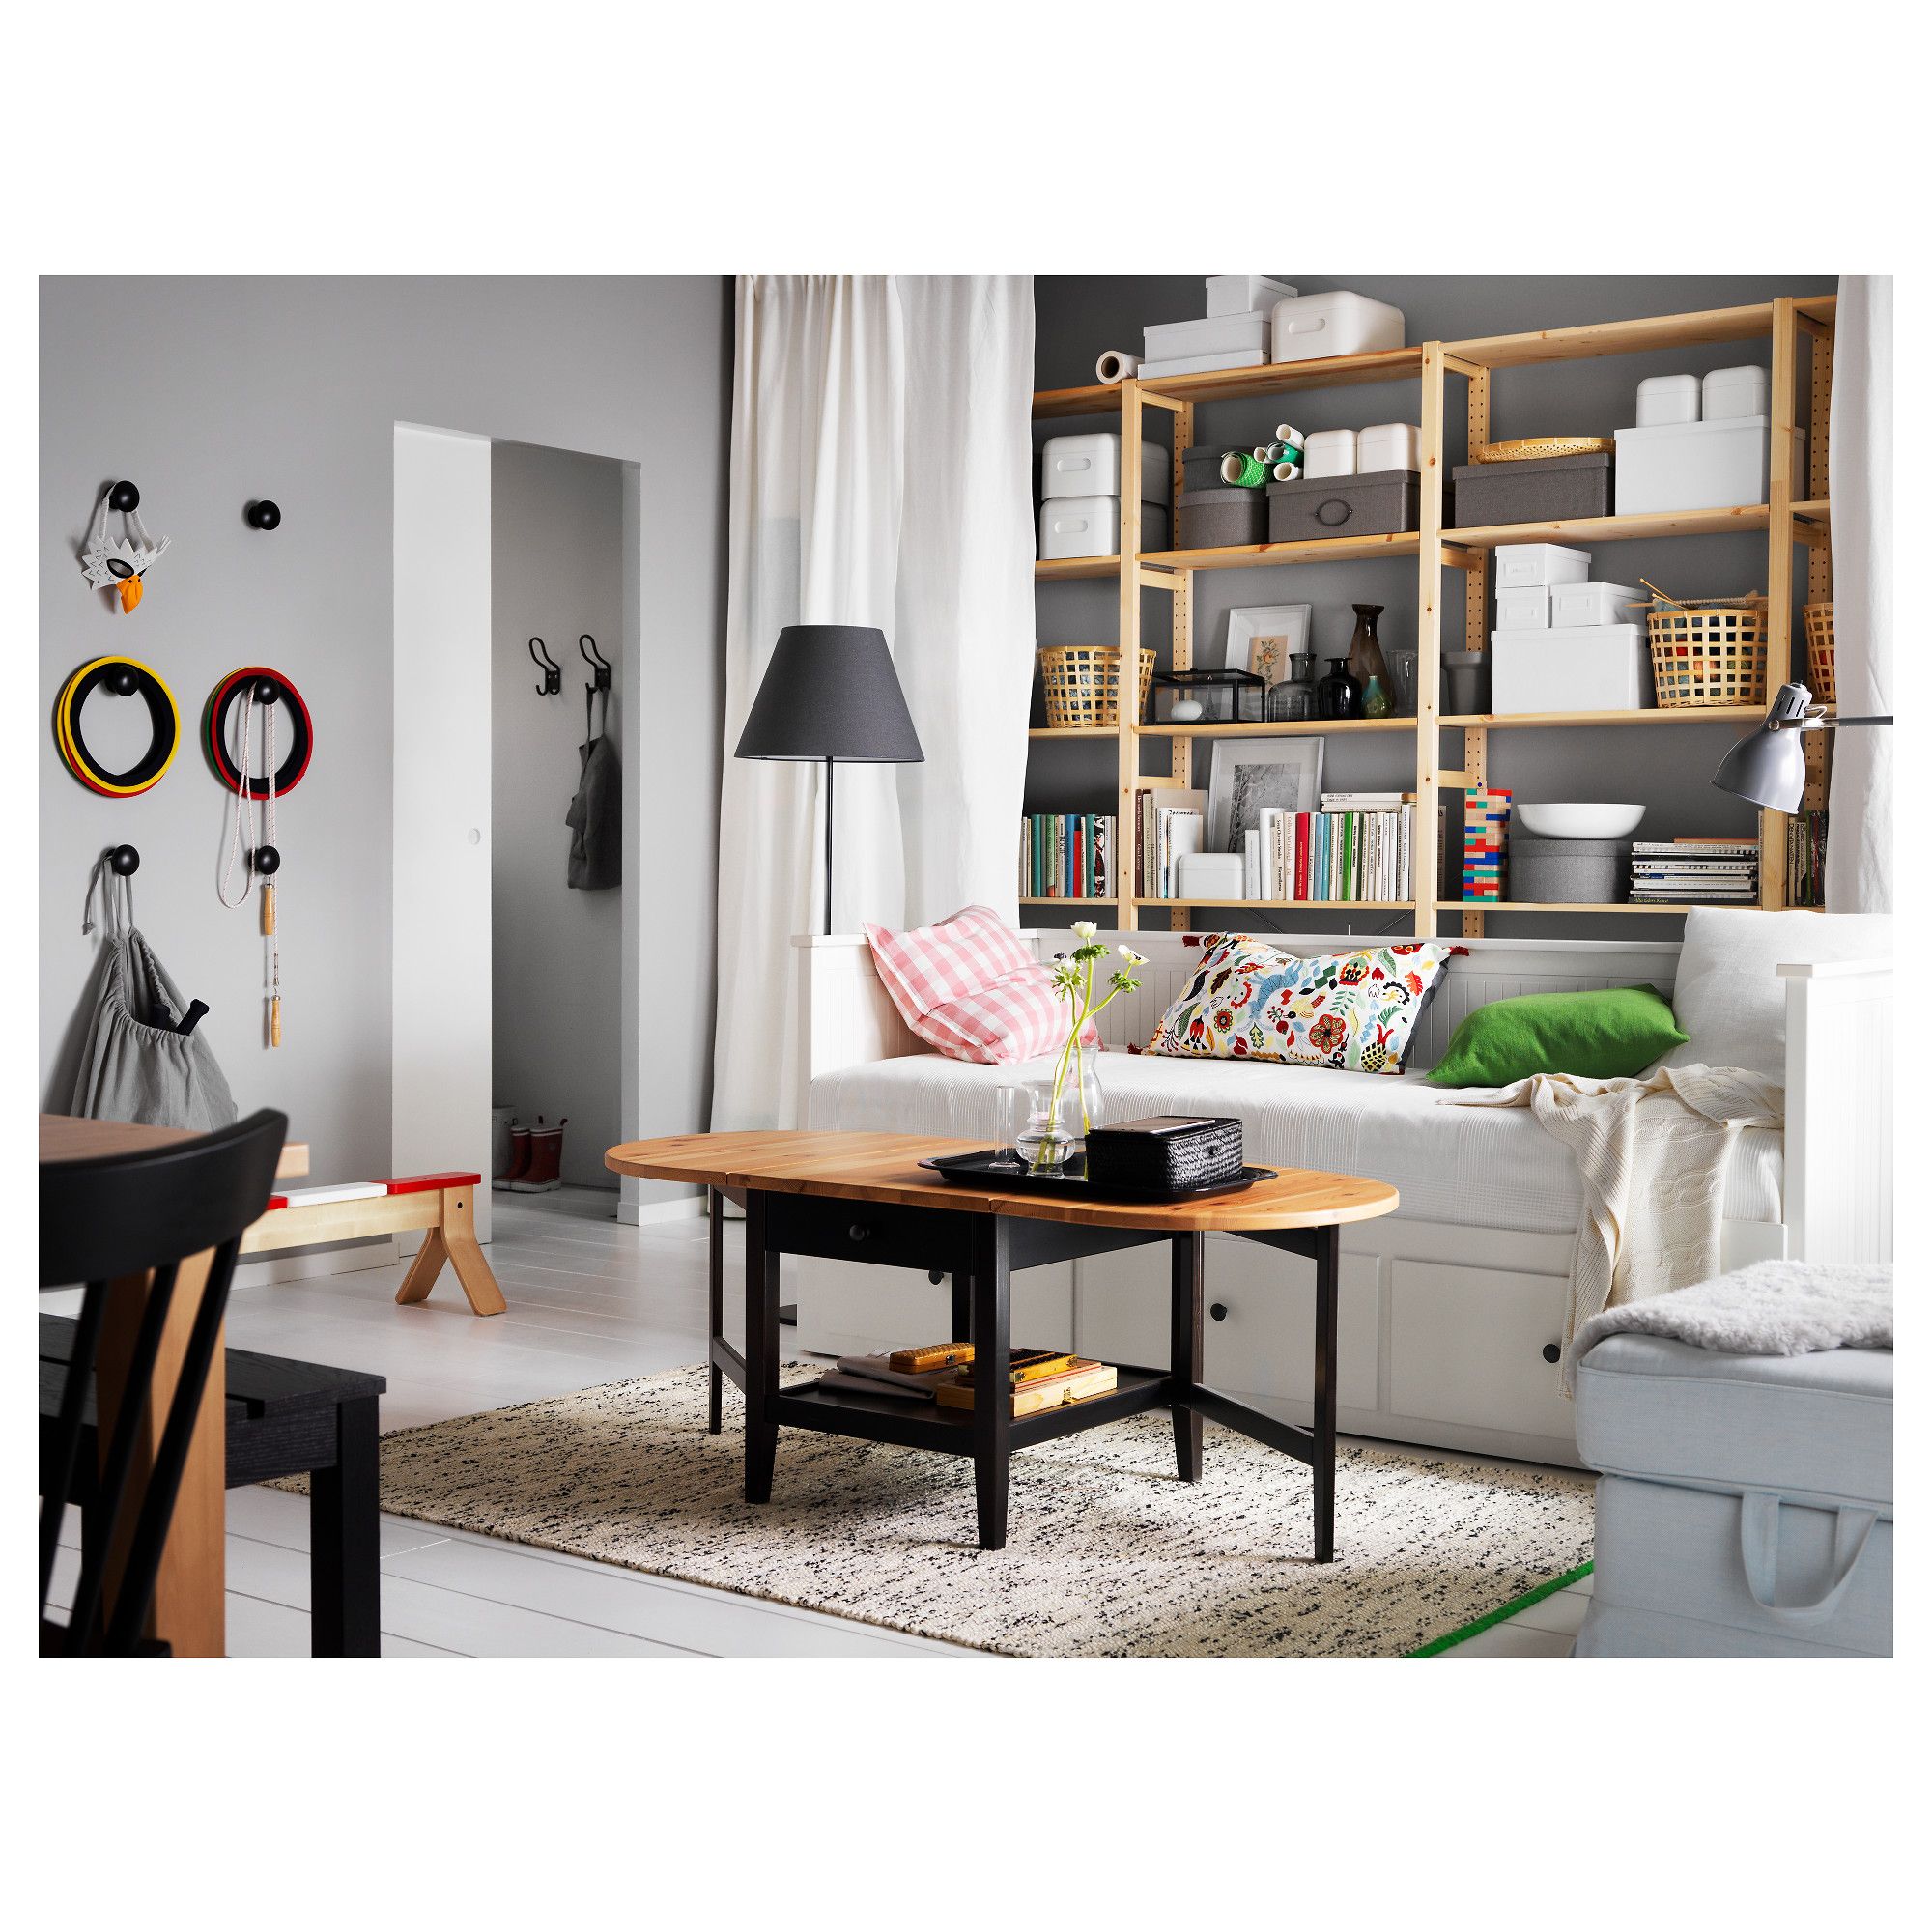
White Living Room Storage Cabinets
Sideboards, curio cabinets, and high-gloss storage units that blend practical organization with decorative appeal.
Read More →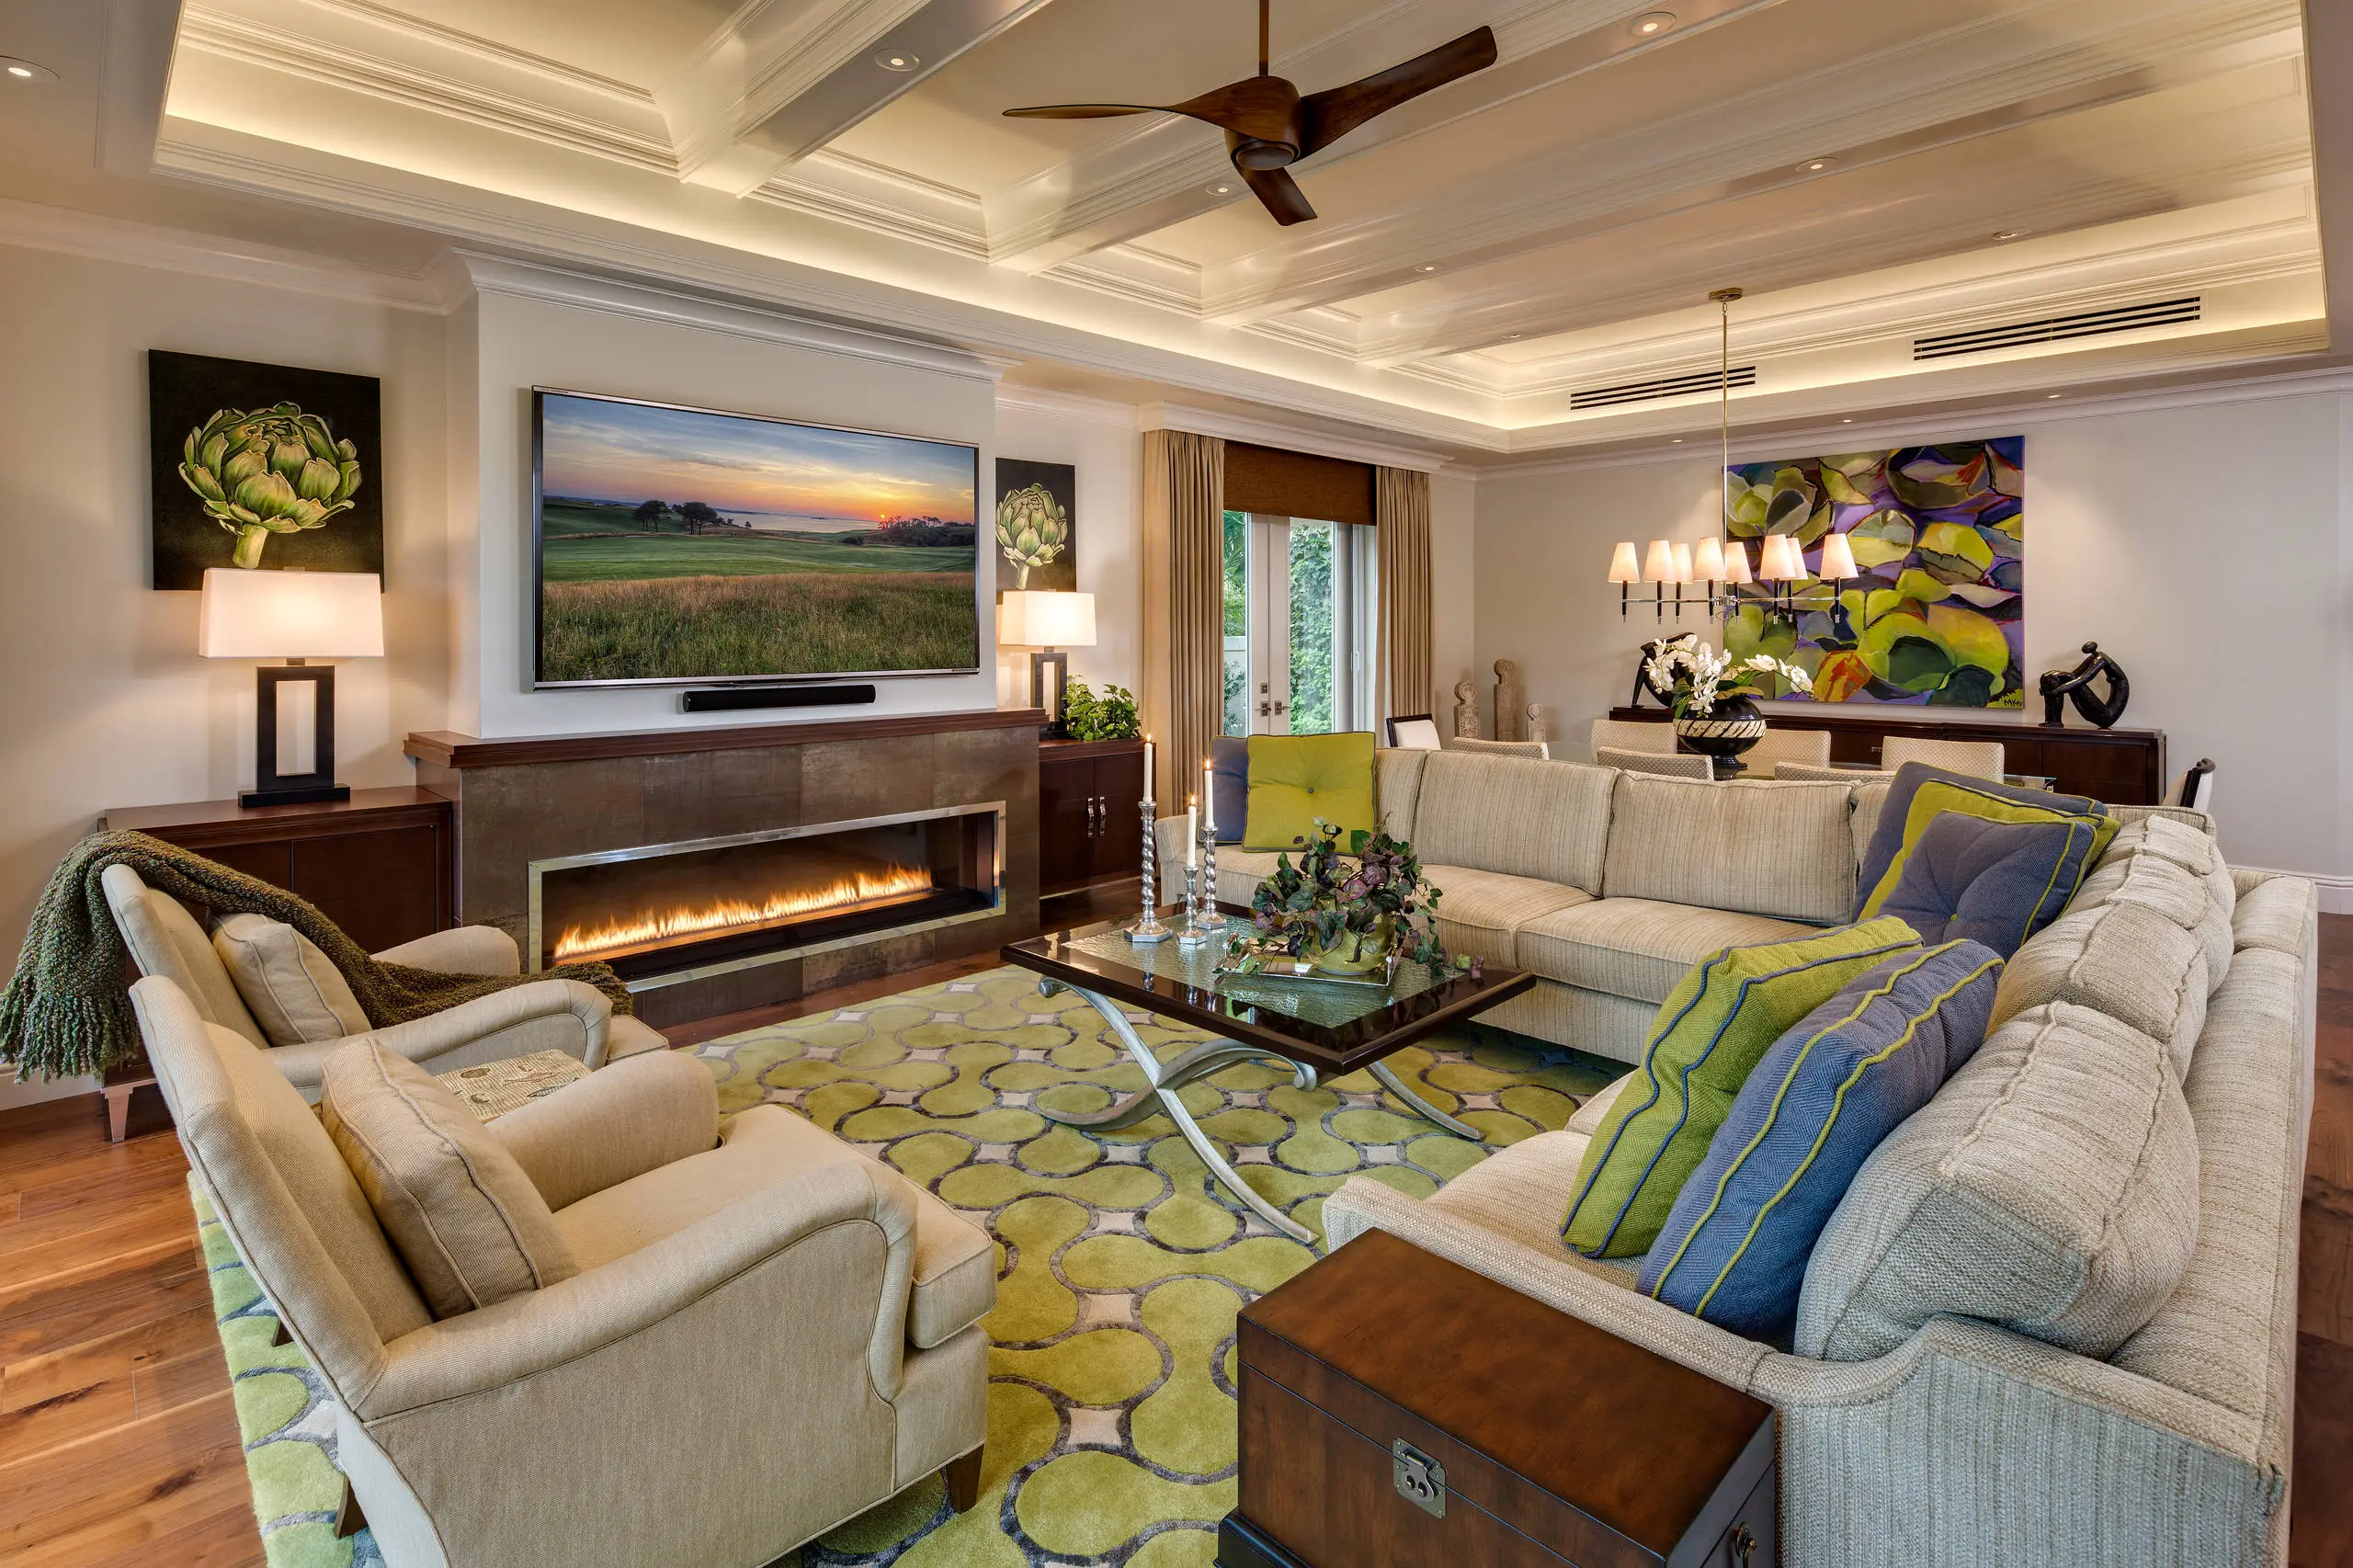
Living Room Decor Essentials
Rugs, pillows, art, lamps, and accent pieces that add layers of color, texture, and personality to any living space.
Read More →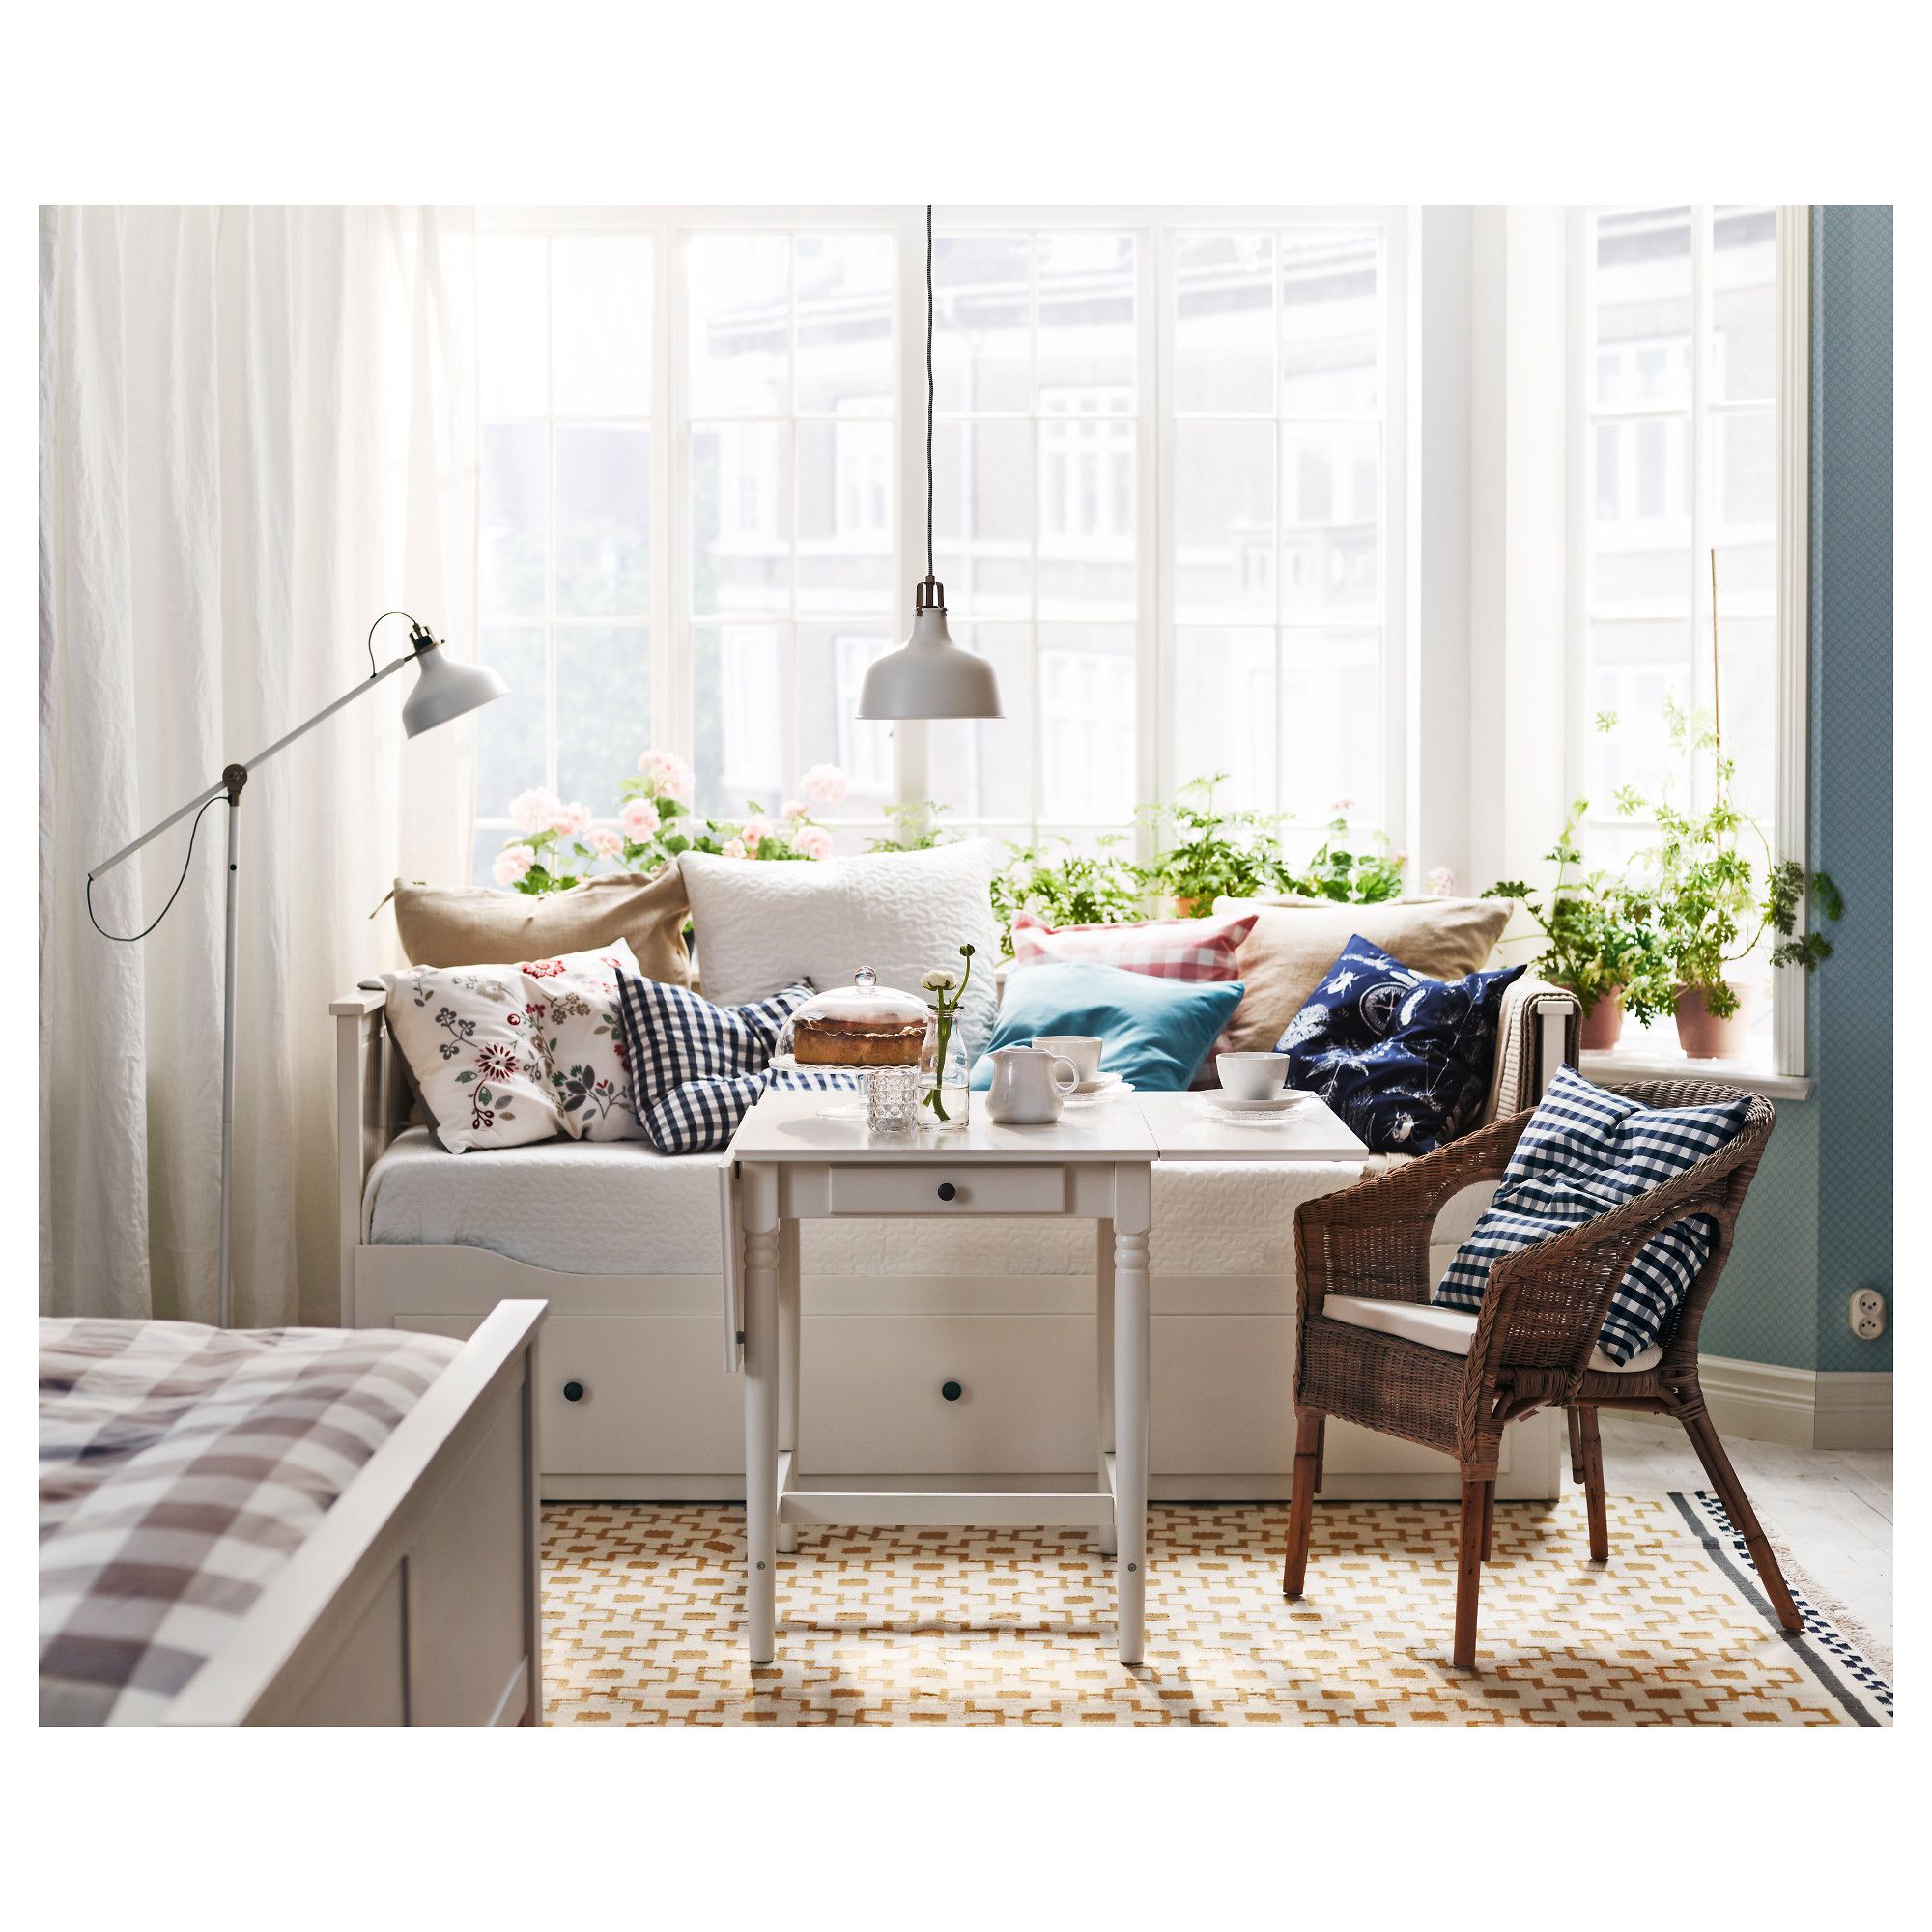
Natural Living Room Decor
Earthy elements, house plants, rustic touches, and organic materials that bring warmth and nature indoors.
Read More →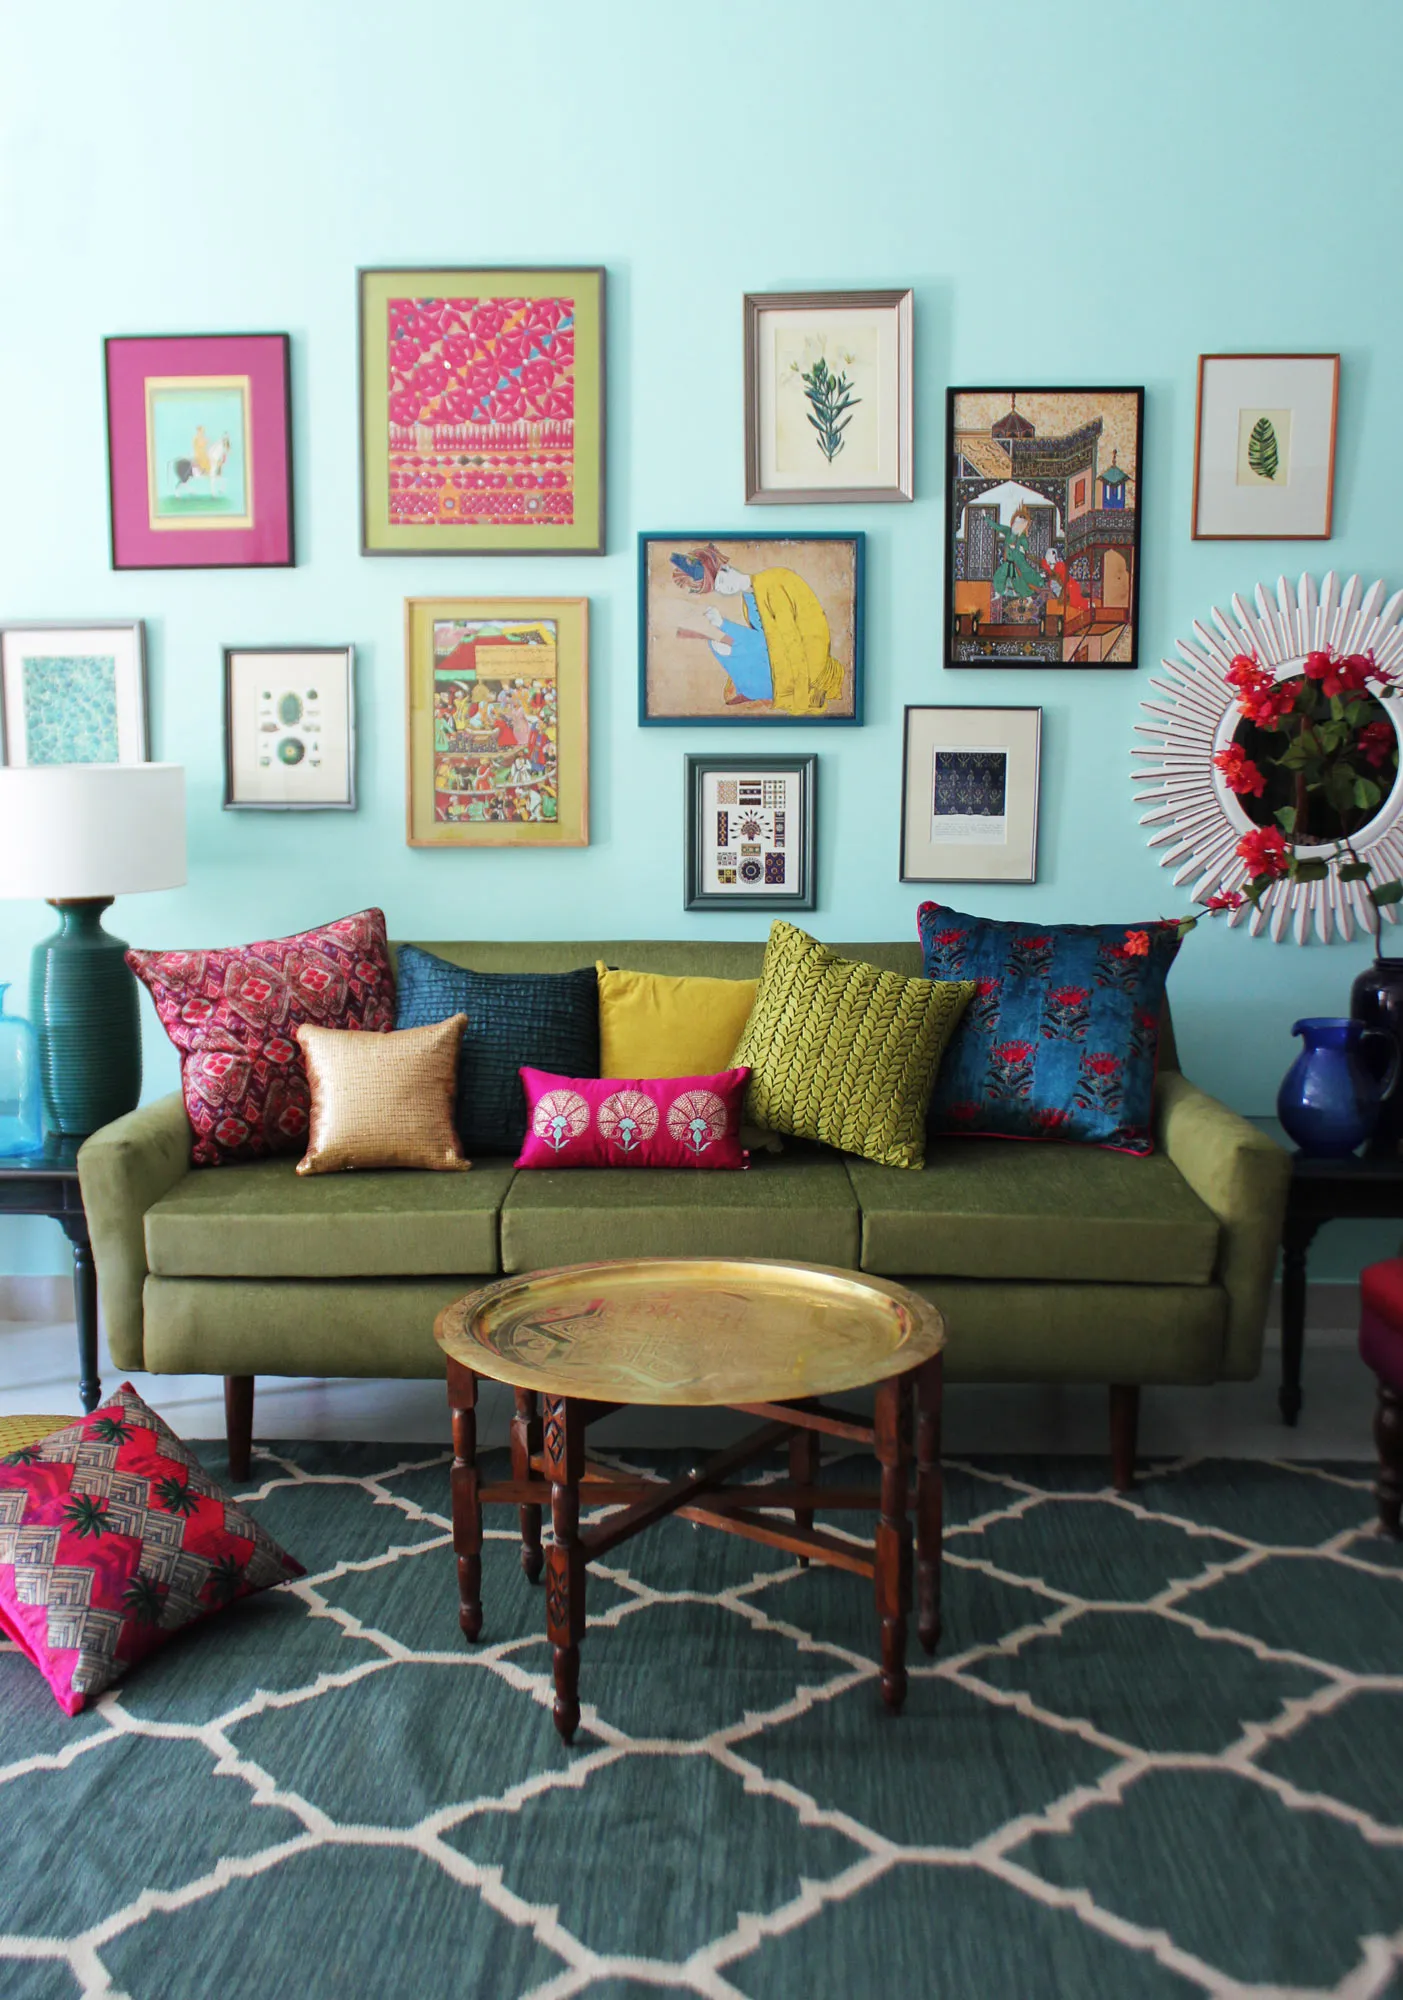
Living Room Ideas: Velvet Sofa
From classic red to trending green and blue, explore how a velvet sofa can transform your living room's character.
Read More →